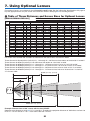
1
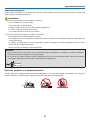
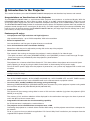
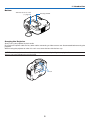
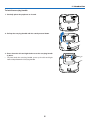
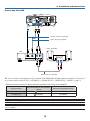
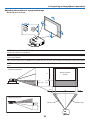
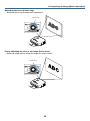
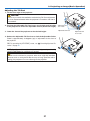
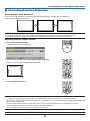
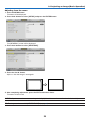
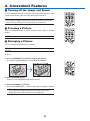
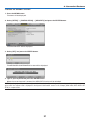
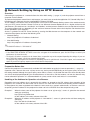
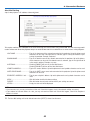
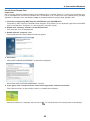
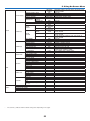
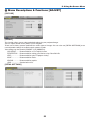
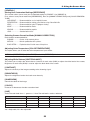
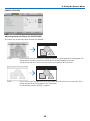
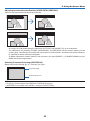
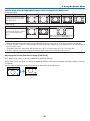
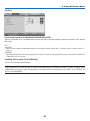
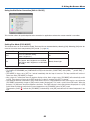
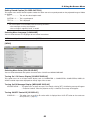
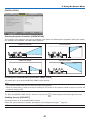
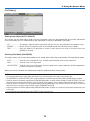
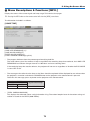
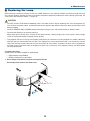
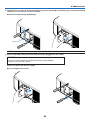
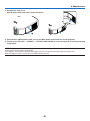
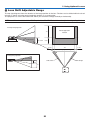
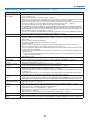
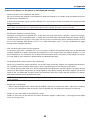
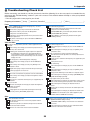
3. Projecting an Image (Basic Operation) Correcting Keystone Distortion Correcting Keystone Distortion If the screen is tilted vertically, keystone distortion becomes large. Proceed with the following steps to correct keystone distortion ON POWER OFF AUTO ADJ. COMPUTER 1 2 VIDEO 3 S-VIDEO VIEWER 4 5 7 8 6 9 0 CLEAR + ID SET AV-MUTE FREEZE MENU EXIT GE G MA NOTE: ENTER • The Keystone correction can cause an image to be slightly blurred because the correction is made electronically. NI FY selection. • The Keystone correction range can be made narrower, depending on a signal or its aspect ratio PA L-CLICK Adjusting with the remote control MOUSE R-CLICK ECO MODEKEYSTONEPICTURE 1. Press the KEYSTONE button. HELP FOCUS ASPECT VOL. The Keystone bar will be displayed. ZOOM 2. Use the or button to correct the keystone distortion. Adjust so that the right and left sides are parallel. ON POWER OFF AUTO ADJ. COMPUTER 1 2 VIDEO 3 S-VIDEO VIEWER 4 5 7 8 6 9 0 CLEAR + ID SET AV-MUTE FREEZE MENU EXIT ENTER G MA NI POWER OFF FY 1 L-CLICK VIDEO AUTO ADJ. GE ON PA COMPUTER 2 3 R-CLICK S-VIDEO VIEWER 4 MOUSE 5 7 8 ECO MODEKEYSTONEPICTURE 3. Press the ENTER button. 6 9 HELP + FOCUS ASPECT VOL. CLEAR 0 ID SET ZOOM FREEZE AV-MUTE MENU EXIT G MA NI GE ENTER PA FY L-CLICK MOUSE R-CLICK ECO MODEKEYSTONEPICTURE NOTE: HELP FOCUS ASPECT VOL. • The Keystone correction can cause an image to be slightly blurred because the correction is made electronically. ZOOM • The maximum range of vertical keystone correction is +/−30 degrees. This maximum range can be changed depending on the signal or aspect ratio setting. • To reset the KEYSTONE correction setting values, press and hold the KEYSTONE button for a minimum of 2 seconds. • The range of keystone correction is not the maximum tilt angle of projector. • The left and right (horizontal) keystone correction is not available. TIP: The changes can be saved with [KEYSTONE SAVE]. (→ page 63) 28