1
O&M - Operation & Maintenance
Attaching Tiller to Tractor
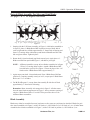
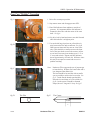
CHECK DECALS
CAREFULLY
for greasing and
adjustments
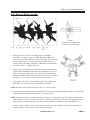
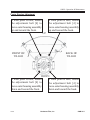
DO NOT BACK UP THE TILLER
when in working position, a bent
Apron or Damage to belts may occur.
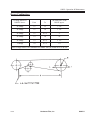
Tiller fits either #1 or #2 Category tractor hitches with no extra parts.
The Model "B" Tiller Hitch connects with either Category #1 or #2 linkage and the PTO Shaft Assembly fits most
standard 3 point hitch tractors.
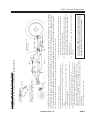
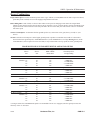
Before operating in the field it is best to check the PTO shaft length in both the raised and lowered positions on
integral hitch tractors so that it neither bottoms (32 1/2" overall) nor extends beyond 43" overall.
The driveline fits together so that the yokes on the center sections are always in line. Should the assembly ever be
changed or damaged, always check to be sure that this alignment is retained since out of alignment will cause
pulsating of the drive line.
Stabilizer bars on the tractor hitch are desirable.
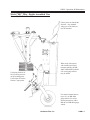
Always adjust top link so tiller frame is "level" when in working position.
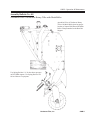
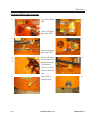
When first attaching to tractor, lift tiller carefully to determine that (1) PTO Universal Assembly does not strike
frame; (2) telescoping shaft does not bottom. If either occurs, hydraulic lift adjustment on tractor must be set to
reduce height of lift.
To prevent damage to Gauge Wheels, Aprons, and Blades, be sure tractor hydraulic lift is set to drop slowly.
When first operating tiller it is best to set the Gauge Wheels for shallower work than will be desired to allow for
short "breaking in" period. To best determine depth of cut stop tractor but allow tiller to operated for a few
moments, then raise and drive ahead. A clean "furrow" will appear, which may then be accurately measured.
Northwest Tiller, Inc.
O&M-iii