1
ownCloud User Manual, Release 7.0
sudo usermod -aG davfs2 <user>
4. Edit the /etc/fstab file and add the following line for each user for whom you want to give mount privileges
for the folder:
example.org/owncloud/remote.php/webdav /home/<username>/owncloud davfs user,rw,noauto 0 0
For each user for whom you wants to give mount privileges:
1. Create the folders owncloud/ and .davfs2/ in your home directory.
2. Create the file secrets inside the .davfs2/ folder and populate it with the following:
example.org/owncloud/remote.php/webdav <username> <password>
4. Ensure that the file is writable by only you by using the file manager or by issuing the following command:
‘‘chmod 600 ~/.davfs2/secrets‘‘
5. Run the following command:
‘‘mount ~/owncloud‘‘
6. To automatically mount the folder on login, add the mount ~/owncloud command to the ./.bashrc file.
Known Issues
Problem: Resource temporarily unavailable
Solution: If you experience trouble when you create a file in the directory, edit /etc/davfs2/davfs2.conf and
add:
use_locks 0
Problem: Certificate warnings
Solution: If you use a self-signed certificate, you will get a warning. To change this, you need to adress the “pem”-file
of your certificate. At first copy mycertificate.pem to - for example - /etc/davfs2/certs/. After that
edit /etc/davfs2/davfs2.conf and uncomment the line servercert (or add it). Now add the path of your
certificate. In this this example:
servercert
/etc/davfs2/certs/mycertificate.pem
4.2.2 Accessing Files Using MAC OSX
Note: The MAC OSX Finder suffers from a series of implementation problems and should only be used if the
ownCloud server runs on Apache and mod_php.
To access files through the MAC OSX Finder:
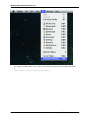
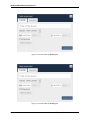
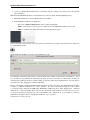
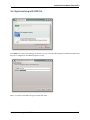
1. Choose Go > Connect to Server.
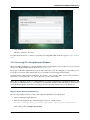
The “Connect to Server” window opens.
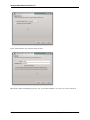
2. Specify the address of the server in the Server Address field.
4.2. Accessing Files Using WebDAV
17