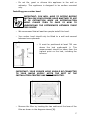
1
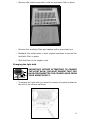
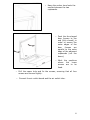
o Insert a finger into each catch and gently lift and pull the filter
outwards (2).
o Ensure the filter unclips from the hood, as shown in the
diagram above (3), before you pull it away.
o Install the cooker hood between two cupboards.
o Drill and insert the screws onto the side boards of the cupboards
(the holes should be no larger than 2 mm). The distance
between the head of the screw and the side board should be 5
mm. The distance between the screw and the cooking surface
below should be no less than 1040 mm. If there is not enough
room you can place the screws higher or lower.
18