1
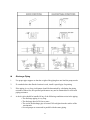
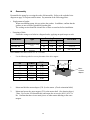
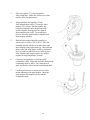
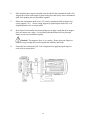
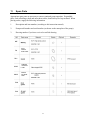
5 Installation, Piping, and Wiring Installation Position 1. Install the pump as close to the suction tank as possible (flooded suction). If the suction port of the pump is positioned higher than the suction tank (suction lift), be sure to arrange a foot valve in the suction pipe. The lifting capability depends upon the liquid properties, temperature, and length of suction piping. For details, consult Iwaki America or your distributor. 2. The pump can be installed indoors or outdoors. However, there should be sufficient space around the pump to enable efficient and easy maintenance. Installation 1. The pump anchoring area must be greater than the area of the pump baseplate. If the anchoring area is not large enough, the baseplate may be damaged due to the concentration of loads placed on it. 2. Set the pump baseplate on a concrete foundation and fasten the anchor bolts tightly to prevent the pump from vibrating during operation. A sturdy metal (or reinforced) skid or platform is also an acceptable mounting surface. 3. Insert a spacer between the concrete surface and the bottom of the base to level the pump horizontally. Next put a level on the discharge flange surface to adjust the pump horizontally in the direction of the pump shaft. Also adjust the direction vertical to the pump shaft at the same time by placing a level on the suction flange surface. Pour cement mortar into the anchor bolt holes after leveling has been completed. When the cement mortar is hardened, fasten the anchor bolt nuts firmly. (See Figure 3). 4. Anchor bolt Base Spacer In case there is influence of motor vibration during operation (e.g. sympathetic vibration with piping), an expansion joint should be provided between the pump and the piping before installation. Otherwise, pipes and gauges may be damaged. 9