1
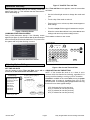
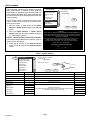
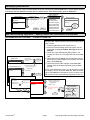
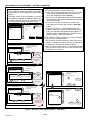
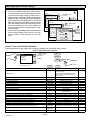
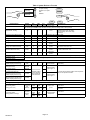
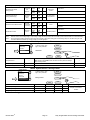
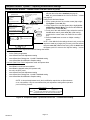
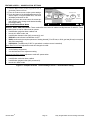
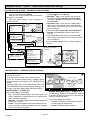
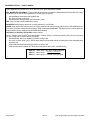
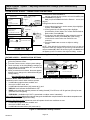
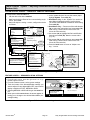
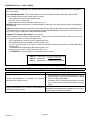
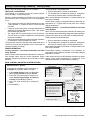
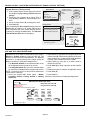
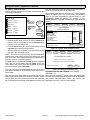
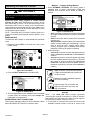
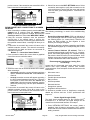
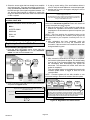
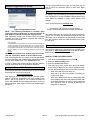
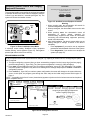
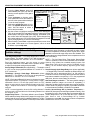
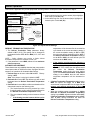
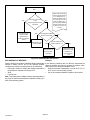
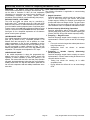
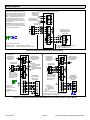
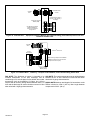
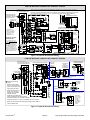
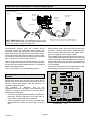
Partial iComfort® System — iComfort® Air Handler and Non-Communicating Lennox Brand (conventional) Air Conditioner An iComfort® air handler (CBX32MV or CBX40UHV) with a 7. Select the Outdoor Unit Type from the device list using the conventional non-communicating Lennox brand air up/down arrows and press the edit button. Then select the air conditioner type (1-stage AC or 2-stage AC) and conditioner unit. press the save button. IMPORTANT! Be sure to set up the air handler control for heat strips (if used) prior to powering up the system and thermostat. 8. On the thermostat, go past the “Add or remove non-communicating equipment” to the “To adjust a 1. Configure air handler control (AHC) for auxiliary heat setting” screen. strips if used. 2. Wiring—See Communicating System and optional 9. Use the arrows to select Air Handler from system devices list; press edit. From this air handler screen you will have accessories Wiring diagrams. access to the various airflow settings. Set the system air 4-conductor thermostat wire from the iComfort Wi-Fi® volumes according the needs of the home. When you thermostat to the air handler (R, i+, i-, C) change certain settings, the system will prompt you to iComfort® air handler to conventional Lennox brand air conditioner (5 – 8 wires). (Y1, Y2, C, R, W1,W2) “please view and save all red settings”. Use the arrows to Wiring as required for accessories select the red settings and press edit. Either make 3. On air handler control, when matched with conventional changes or not, but press save either way. The red settings will go away after pressing save. When all CFM Lennox brand 2stage air conditioner, cut the Y1Y2 2 settings are complete, press the back button. Press next stage comp onboard clippable link. step to advance to the tests button. 4. On air handler control, remove jumper between W1 and W2 for two-stage electric heat only. 10. Test the system operation and confirm the system is 5. After the entire system is wired, power up the system; the electrically energized and operational. Particularly, test the heat strips (when used) to insure the auxiliary stages iComfort Wi-Fi® thermostat will check the system for installed communication devices. have been detected and are operational. Press done. 6. In the installer setup button, select Add or Remove 11. Exit the installer setup mode by selecting the EXIT button. non-communicating equipment by pressing the yes button. TIPS If the thermostat “System Setting” does not offer a choice for emerg. heat and or the electric heat will not function; the electric heat has not been configured. Configure the electric heat as described on Page 56, or for complete detail, see the Air Handler installation instructions. Reconfigure the iComfort® system by entering the installer program and selecting the setup button and following the prompts. If the thermostat System Setting only shows “heat only“ or “off“ choices and does not offer a choice for “cooling” you must “Install” the non-communicating air conditioning unit. Select Add or Remove non-communicating under the setup button in the Installer Section. Select Outdoor Unit Type, press the edit button and then choose “1 Stage AC” or “2 Stage AC” and press the save button. For two-stage air conditioners you must cut the Y1Y2 2 stage comp onboard clippable link on the air handler control. 507343-01 Page 62