1
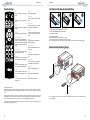
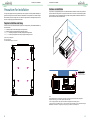
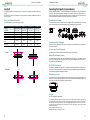
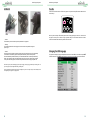
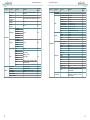
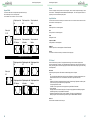
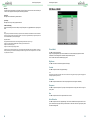
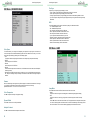
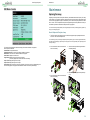
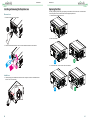
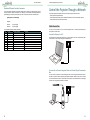
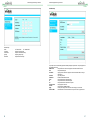
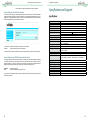
® Start Using the Projector OSD Menu - Service Maintenance ® Maintenance Replacing the Lamps Depending on the lamp model, the lamp life is affected by the installation method and frequency of the lamp on/off operation. It is suggested to replace the projector lamp when it has been used for approximately 1500 hours to ensure high projection quality. In the OSD Menu, you can check the lamp using time from the "OSD Menu - Service". You should replace the lamp when the projected image is obviously darkened. Contact your local dealer to purchase the authorized new lamp that suits to your projector. Note: • Purchase the lamp module produced by Vivitek. Using the lamp that is not made by Vivitek may affect the performance of the projector or damage the projector. How to Replace the Projector Lamp 1. Turn off the projector and unplug the power cord. Wait for the projector, lamp and peripheral devices to cool down. Then remove the lamp module. Note: • When the projector is just turned off, the temperature of the lamp inside the projector is still very high (about 200~300°C). You might be burnt if attempting to replace the lamp when the projector is not cooled off. The lamp can be replaced safely when the lamp is cooled off. The functions of the projector are related to the display of some basic information of the projector. Model: Projector model name. Serial Number: Projector serial number. Software Version1&2: The version of the software installed in the projector. FPGA Version: The version of the Software installed in the projector. Active Source: Display the current source. Signal Format: Display the format of the current input signal. (Time Info): Display the H/V refresh rate of the current image. Lamp 1 Time: Display the using hours of Lamp 1. Lamp 2 Time: Display the using hours of Lamp 2. Factory Reset: Use this function to restore the configuration of the menu to the factory default setting.All of the user setting options of the projector will be deleted and restored to the factory default settings. 2. Use a screwdriver to unscrew the screws and remove the old lamp 4. Insert the new lamp and follow original directions for installing the lamp 3. Use a screwdriver to unscrew the screws and remove the old lamp 5. Follow drawing to tighten the lamp and lamp cover. 38 39