1
matrix printer is needed; one for the
small invoice forms and the other
for the full size sheets of paper
used for printing reports. If you
only have one printer icon, repeat
the above step to create another.
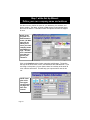
Change the name of one of the
printer icons to Invoice Printer by
clicking once on the icon,
wait for a moment, then
click on the description
below the icon. The
description will become
highlighted.
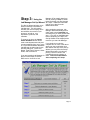
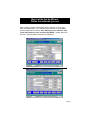
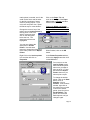
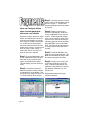
Click on the Paper Tab and
scroll to the far right of the Paper
size window to Custom and then
double click on it.
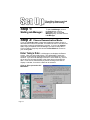
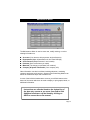
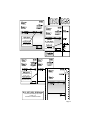
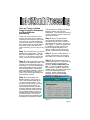
Change the Width and Length
parameters to a Width of 600 and a
Length of 700 as shown in the box
below.
You can now change the
description to Invoice
Printer. Use this same
process to change the description
of the other printer icon to Report
Printer.
When finished, click on the OK
button.
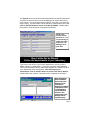
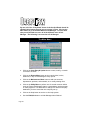
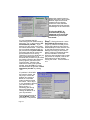
Right Click on the Invoice printer
icon and then left click on
Properties.
In the Printer Properties window,
click on the Apply button then click
on the OK button.
From now on, set the
Invoice Printer as the
default windows printer
when ever you want to
print on the 6” x 7” form
and select the Report
Printer when ever you
want to print a report.
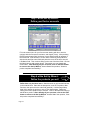
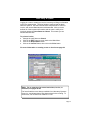
To change the default
printer; click on the Start
button, click on
Settings, click on
Printers. In the Printers
window, right click on
the printer icon you wish
to set as the default
printer, then left click on
Set As Default. This
printer will remain the
default printer until you
change it again.
Page 25