1
Installing Ocularis Client
Ocularis Installation & Licensing Guide
Installing Ocularis Client
•
The Ocularis Client may be installed on as many systems as desired.
•
Refer to the system requirements defined on the OnSSI website for hardware specifications.
•
Follow this procedure when installing a new system or upgrading existing copies of Ocularis Client.
TO INSTALL OCULARIS CLIENT
These instructions assume that you have installed Ocularis Base and are located at the system on which you wish to
install Ocularis Client. Use these steps for all feature sets of Ocularis.
1.
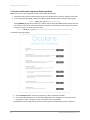
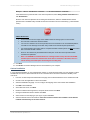
From the ‘Ocularis Component Downloads’ web page, click the Download button next to Ocularis Client.
2.
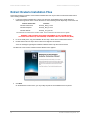
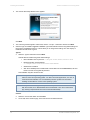
You may be prompted to run or save the file, you may choose to either run it now or save it and run the
installation later. In a new installation, an extraction wizard screen will appear. Follow the prompts to extract
the files and then you’ll see the Welcome to Ocularis Client Setup Wizard screen.
3.
Once Run has been selected, if a previous version of the Ocularis Client is detected, a notice will appear
asking for your confirmation to uninstall the older version and install the new version. Click Yes.
a.
An “Are you sure you want to remove Ocularis Client…?” screen appears. Click Yes.
b.
When the uninstall is complete, click OK.
4.
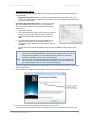
The Welcome to Ocularis Client Setup Wizard appears. Click Next.
5.
The License Agreement appears. Please read, click the “I accept..” radio button and then click Next.
6.
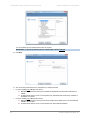
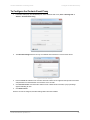
The Select Destination Folder screen appears.
You may leave the default directory path as is or change it if necessary according to your organization. If
installing a version to be used as a demo, keeping the default path is recommended. Click Next.
7.
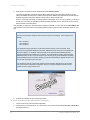
The Select Language screen appears. Select the desired language for Ocularis Client from the drop-down
menu. The language may be changed again after the software has been installed. Click Next.
8.
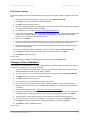
The next screen, Ready to Install the Program, will confirm the file path and disk space requirements. Click
Next if OK. Click Back to make changes to the directory path or the folder.
The Ocularis Client software is installed.
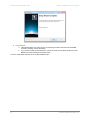
9.
When the Ocularis Client Setup is completed, the Setup Wizard Complete for Ocularis Client screen
appears. Click Finish.
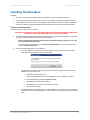
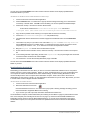
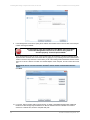
The software installation will result in the display of the following desktop icons:
24
On-Net Surveillance Systems, Inc.