1
For Wireless Network Users
17
a
b
c
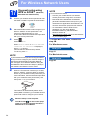
One-push setup using
WPS or AOSS™ (Windows®,
Macintosh and mobile devices)
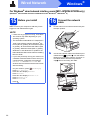
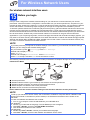
Confirm your wireless access point/router has
the WPS or AOSS™ symbol as shown below.
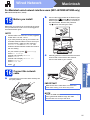
Place the Brother machine within range of your
WPS or AOSS™ access point/router. The
range may differ depending on your
environment. Refer to the instructions provided
with your access point/router.
• Connect your mobile device to a wireless
access point/router using Wi-Fi connection.
• Download and install Brother iPrint&Scan
(Android™/iOS/Windows® Phone) from your
mobile device’s application download site. You
can also use AirPrint (iOS) with this machine.
• To download the User’s Guide for the
application you are using (Brother
iPrint&Scan/AirPrint), visit the Brother
Solutions Center at
http://solutions.brother.com/ and click Manuals
on your model’s page.
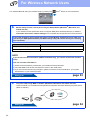
To install MFL-Pro Suite, continue to
step 18.
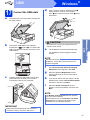
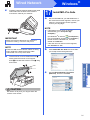
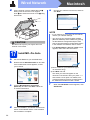
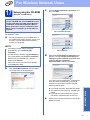
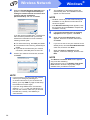
When Enable WLAN? or Switch Network
interface to wireless? is displayed,
press Yes to accept.
This will start the wireless setup wizard.
To cancel, press No.
For Windows® users:
If your wireless access point/router supports WPS
and you want to configure your machine using the
PIN (Personal Identification Number) Method,
see Configure Your Wireless Network Using the
PIN Method of Wi-Fi Protected Setup™ (WPS) in
the Software and Network User’s Guide.
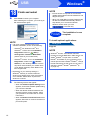
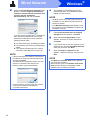
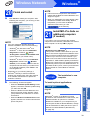
When the Touchscreen instructs you to start
WPS or AOSS™, press the WPS or AOSS™
button on your wireless access point/router (for
more information, see the instructions provided
with your wireless access point/router), and
then press OK on your machine.
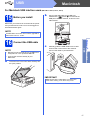
This feature will automatically detect which
mode (WPS or AOSS™) your wireless access
point/router uses to configure your machine.
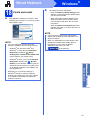
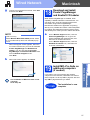
Wireless setup is now complete.
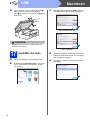
The Wi-Fi LED
on the control panel
lights up, indicating that the machine’s
Network I/F is set to WLAN.
34
For mobile device users:
Press
.
Press WPS/AOSS.
NOTE
d
NOTE
Now go to
Page 37
For Macintosh users:
Now go to
Page 40