1
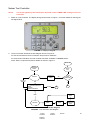
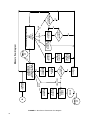
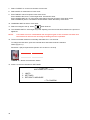
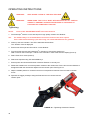
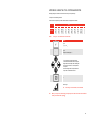
11. Fully press trigger and keep fully pressed until the shut-off (LOWER LIMIT) is reached, then release the
trigger.
NOTE:
If the trigger is not fully pressed full torque may not be applied to the fastener.
12. The trigger must be released before the tool resets to prevent a further torque application.
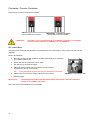
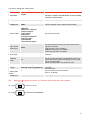
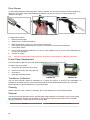
13. The torque applied is shown on the power tool & Tool Controller as follows:
Torque Applied
Below 0.5% of tool
capacity
Below “LOWER LIMIT”
“PASS”
Above “UPPER LIMIT”
Display LED / LIMIT
Tool Controller LED
Tool LED
NONE
NONE
NONE
AMBER / “LO”
GREEN / “OK”
RED / “HI”
RED “FAIL”
GREEN “PASS”
Flashing RED “FAIL”
RED
GREEN
Flashing RED
The peak torque applied is shown on the display.
The Tool Controller will reset after 1 or 5 seconds, as selected.
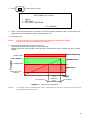
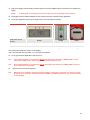
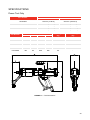
14. For a typical torque application see Figure 10.
TIP:
If the torque applied is consistently above the target value then the ‘LOWER LIMIT’ can be
reduced to compensate. Reducing the air pressure may also help.
TIP:
If the torque applied is consistently below the target value then the ‘LOWER LIMIT’ limit can
be increased to compensate.
15.
TIP:
Remove the tool from the fastener.
When the tool controller resets the torque reading is sent to the serial port or internal printer
(if fitted). If no reading is required press the PRINT / NO PRINT (button 9), the choice is shown
on the display.
19