1
1. Use of the Metal Vacuum Tip without a Vacuum Cup attached for removal/replacement of very
small component works well but for larger components, install one of the supplied Vacuum
Cups onto the tip. For best results, use a size slightly smaller than the body of the component
to be removed or placed. For very large components, use the largest Vacuum Cup.
2. Press the LoFlo Pump Switch to activate vacuum at the handpiece. The LoFlo Pump Switch will
illuminate whenever the switch is activated.
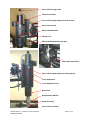
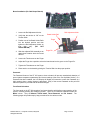
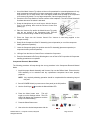
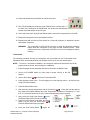
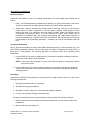
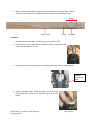
3. Grasp the handpiece as you would a pen, with the Vacuum
Cup (or tip) pointing down and the Vacuum Control Port
pointing up.
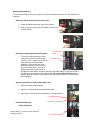
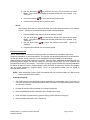
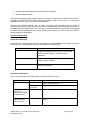
4. Place the Vacuum Cup and/or the Metal Vacuum Tip gently
onto the top surface of the Component body. Exercise
caution to avoid bending of leads on fine pitch devices.
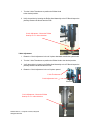
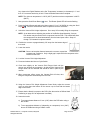
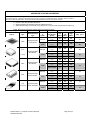
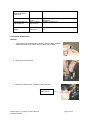
5. Place one finger over the Vacuum Control Port. Vacuum is now being applied to the
Component body.
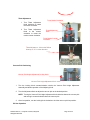
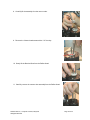
6. Gently lift the Component off the PC Assembly (removal operation) or out of the component
holder (placement operation).
7. Lower the Component gently into position onto the PC Assembly (placement operation) or
component holder (removal operation).
8. Lift finger from the Vacuum Control Port to release the Component.
9. Press the Illuminated LoFlo Pump Switch again to turn off the LoFlo Pump when all Component
handling operations are completed.
Component Removal; Manual Mode
The following procedure will step through the set up procedure in the Component Removal Manual
Mode.
1. Install the proper Nozzle Assembly and Vacuum Cup onto the Reflow Head. Ensure that the
PCB assembly to be reworked and any replacement component have been properly
prepared.
NOTE: Any required preheating operation should be completed before advancing beyond
this point.
2. Set unit POWER Switch (on power source front panel) to the ON position.
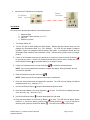
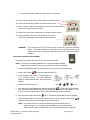
3. Use the Scroll Keys (
) to select the Manual Mode LED.
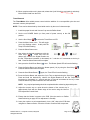
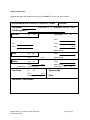
4. Press the Menu button once. This will
toggle you to the Settings column. The LCD
screen will display the temperature and the
Temp LED will be flashing.
5. Press the Select Button once.
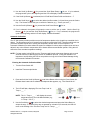
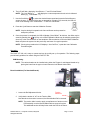
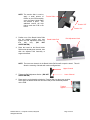
6. Now select the desired temperature with the Scroll Keys (
©2004 PACE Inc., Annapolis Junction, Maryland
All Rights Reserved
). Press and hold the desired
Page 23 of 45