1
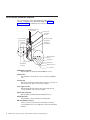
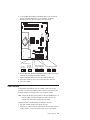
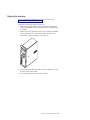
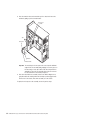
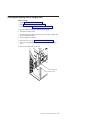
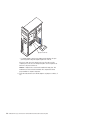
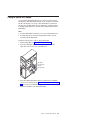
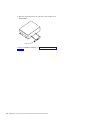
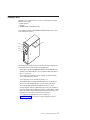
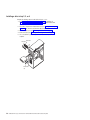
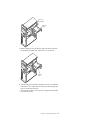
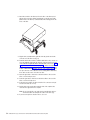
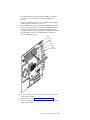
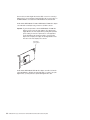
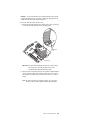
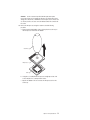
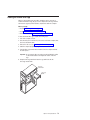
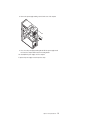
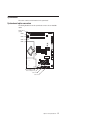
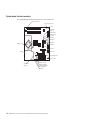
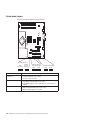
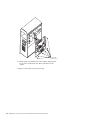
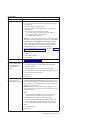
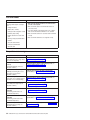
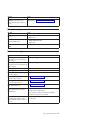
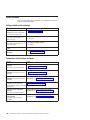
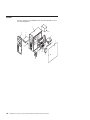
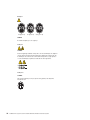
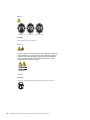
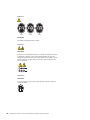
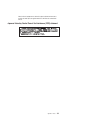
Removing the system board
Before you begin:
v Read “Installation guidelines” on page 29.
v Read Appendix B, “Safety information,” on page 115.
v Review the information in “System reliability guidelines” on page 29.
Note: When replacing the system board, you must either update the computer with
the latest firmware or restore the pre-existing firmware that the customer
provides on a diskette or CD image.
To remove the system board, complete the following steps:
1. Turn off the computer, if it is on.
2. Disconnect the power cord from the power source and from the computer;
then, disconnect all external cables.
3. Lay the computer on its left side.
4. Remove the side cover (see “Removing the side cover” on page 32).
5. Remove the microprocessor fan assembly (see “Removing and replacing the
microprocessor fan assembly” on page 35).
Important: When disconnecting cables, note the cable routing and connector
labels for use during installation.
6. Disconnect the cables.
7.
8.
9.
10.
11.
12.
Note: Installed adapters might have to be removed before some cables can
be disconnected.
Remove any installed adapters (see “Installing an adapter” on page 39).
Remove the SCSI daughter card, if one is installed (see “Removing and
replacing the SCSI daughter card” on page 37).
Remove the microprocessor and heat sink (see “Microprocessor and heat sink”
on page 68).
Remove memory modules (see “Installing memory modules” on page 54).
Remove the battery (see “Replacing the battery” on page 57).
Remove the seven screws that secure the system board.
Chapter 5. Field replaceable units
81