1
CHAPTER 5 USAGE EXAMPLE
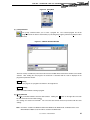
This chapter explains a series of basic operations of the FPL2 with the GUI software, taking a case where the
µPD78F9222 is used as the target device as an example. This chapter covers how to start the system, execute the
[Autoprocedure (EPV)] command, and program the target device.
Refer to CHAPTER 4 OPERATION USING GUI SOFTWARE for the other commands and applications.
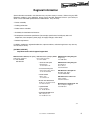
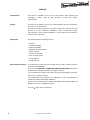
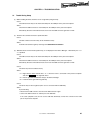
O Series of operations described in this chapter
The conditions of the series of operations described in this chapter are as follows:
• Target system
Target device:
µPD78F9222
Voltage level:
3V
Communication:
UART CH0
• FPL2
Parameter file:
78F9222.PRM
Clock setting:
8 MHz
Port:
UART-ch0 (115,200 bps)
MODE switch:
3V
Operation mode:
Chip
Write HEX:
FPL2_TEST.HEX
Option setting:
Blank check before Erase
Checksum after Program
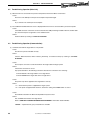
(1) Installing the GUI software
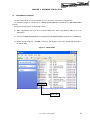
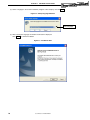
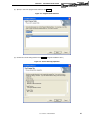
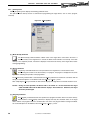
Install the FPL2 GUI software in the host machine you are using, by referring to CHAPTER 3 SOFTWARE
INSTALLATION (if the software has not been installed yet).
(2) Installing the driver
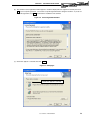
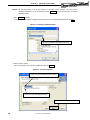
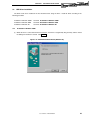
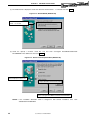
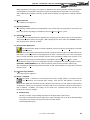
Install the USB driver in the host machine you are using, by referring to CHAPTER 3 SOFTWARE
INSTALLATION (if the driver has not been installed yet).
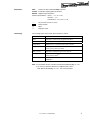
(3) Installing the parameter file
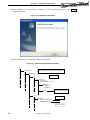
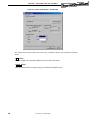
Copy the parameter file for the µPD78F9222 to the hard disk and install it in <FPL2-installation-path>\PRM.
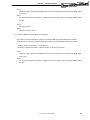
Download the parameter file from the following:
http://www.necel.com/micro/ods/eng/index.html (website in English)
http://www.necel.com/micro/ods/jpn/index.html (website in Japanese)
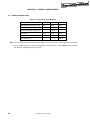
User’s Manual U17307EJ2V0UM
49