1
Setting up
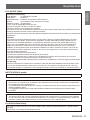
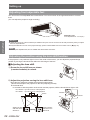
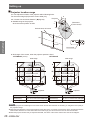
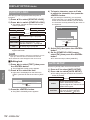
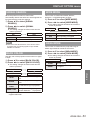
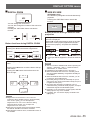
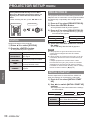
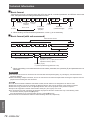
Projection method
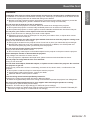
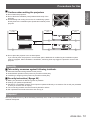
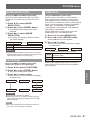
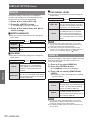
You can use the projector with any of the following 4 projection methods. To set the desired method in the projector.
JJMounting on the ceiling and
projecting forward
JJSetting on a desk/floor and
projecting from rear
Menu Û
Method
Menu Û
Method
PROJECTION
METHOD
FRONT/CEILING
PROJECTION
METHOD
REAR/DESK
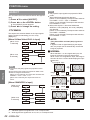
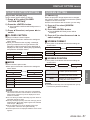
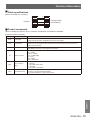
JJMounting on the ceiling and
projecting from rear
JJSetting on a desk/floor and
projecting forward
(Using translucent screen)
Menu Û
Method
Menu Û
Method
PROJECTION
METHOD
REAR/CEILING
PROJECTION
METHOD
FRONT/DESK
½½½ Refer to “PROJECTION METHOD” of “PROJECTION SETUP menu” (Æpages 57) for details.
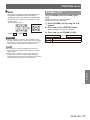
Attention
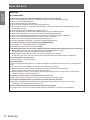
zz For optimum viewing quality, install the projector in a location where screen exposure to outside light, light from light fixtures
or other light is at a minimum. Also draw the curtains, close blinds and turn off light fixtures.
zz Do not use the projector installed vertically or tilted right or left. Use under such conditions could result in equipment
damage.
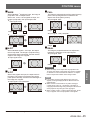
zz The projector must be installed so that its inclination to the horizontal plane is ±30° or less.
zz Installing the projector at an inclination that exceeds 30° may reduce product life or result in
malfunction.
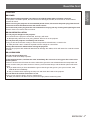
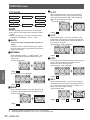
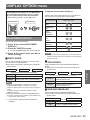
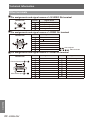
Parts for ceiling mount (Optional)
You can install the projector on the ceiling using the optional ceiling mount bracket (ET-PKF110H: for high ceiling,
ET-PKF110S: for low ceiling).
zz Use only the ceiling mount brackets specified for this projector.
zz Refer to the installation manual for the ceiling mount bracket when you install the bracket and the projector.
zz Be sure to consult your dealer when using the ceiling mount bracket for the PT-F300U/PT-FW300U (ETPKF100H for high ceilings or ET-PKF100S for low ceilings).
Attention
zz To ensure projector performance and security, installation of the ceiling mount bracket must be carried by your
dealer or a qualified technician.
ENGLISH - 21
Getting Started
(Using translucent screen)