1
AXIS Camera Station
Get Started
Get Started
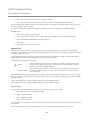
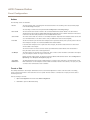
When using AXIS Camera Station for the first time, Get Started with AXIS Camera Station is started automatically. Get Started with
AXIS Camera Station provides a quick way to add cameras and to configure and enable recording:
1. Select cameras and video encoders to add. See Add Cameras.
2. Select recording method and where to store recordings. See Configure Recording.
3. Review settings and click Finish to add cameras and start recording.
All settings can be changed later, see Configure AXIS Camera Station on page 11 .
Add Cameras
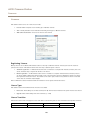
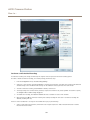
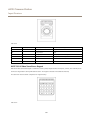
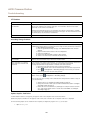
AXIS Camera Station automatically searches the network for connected cameras and displays a list of cameras found. Use the
Type to search field to find cameras in the list.
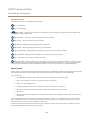
1. Select the cameras to add. A camera can be added if its Status field is empty. For information about different statuses and
how to solve problems, see the built-in help.
2. To change the camera name, click on the name in the list and enter a new name.
3. Click Next to continue.
4. If some cameras do not have a password, Enter camera password is displayed. Enter a password and re-enter it to
confirm the spelling. The password will be set on all cameras that do not have a password. The password is used by
AXIS Camera Station to communicate with the cameras. Make sure to use a strong password.
If a camera cannot be found:
•
Check that the camera is connected to the network and that power has been applied. Then click Search Again to repeat
the search. It is also possible to add cameras manually. Click Add Manually and enter the camera’s IP address or host
name. If the camera does not use the default port 80, the port number must also be specified.
•
If AXIS Camera Station Client, AXIS Camera Station Server and/or cameras are located on different networks, then proxy
and firewall settings might need to be configured. See Network and Security Configuration on page 61.
Configure Recording
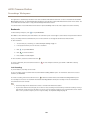
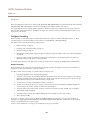
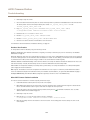
On the “Configure Recording” page, select recording method and where to store recordings. All recording settings can also be
changed later.
The selected recording method and the other recording settings will be enabled on all selected cameras. Video will be recorded in
video format H.264 if supported by the camera.
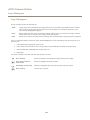
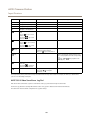
1. Select recording method:
-
Motion recording — Record video when motion is detected. When a camera detects a moving object,
AXIS Camera Station will start record video from that camera. Recording continues until motion stops.
-
Continuous recording — Record video continuously. Continuous recording requires more disk space than
motion recording.
-
I want to configure this later — Do not enable recording.
2. Select the number of days to keep recordings, or select Unlimited to keep recordings until the disk is full.
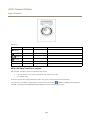
3. Under Recording location, select the disks to store recordings on:
-
Drives on the local computer. It is not recommended to use the disk on which the operating system is installed.
10