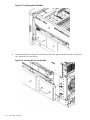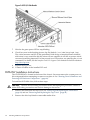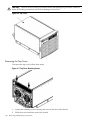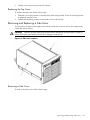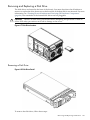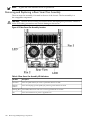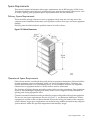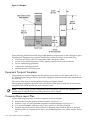
1
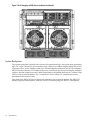
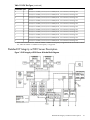
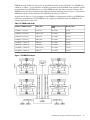
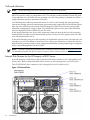
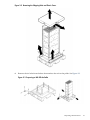
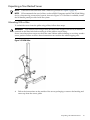
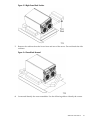
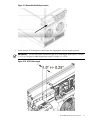
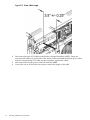
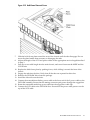
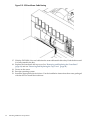
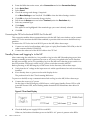
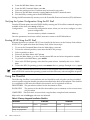
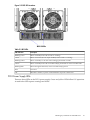
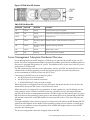
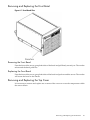
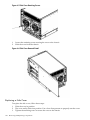
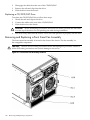
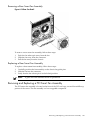
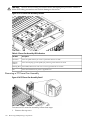
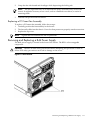
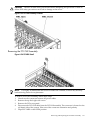
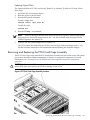
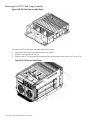
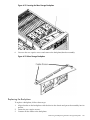
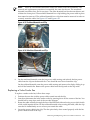
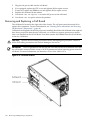
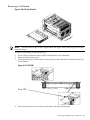
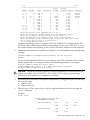
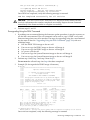
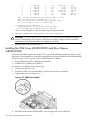
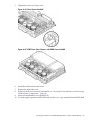
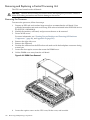
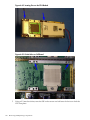
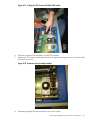
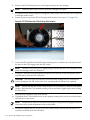
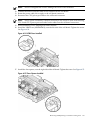
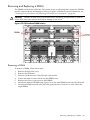
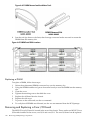
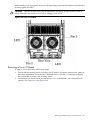
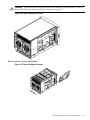
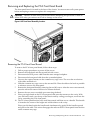
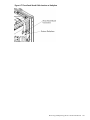
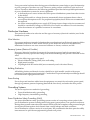
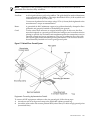
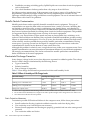
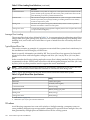
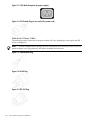
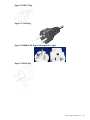
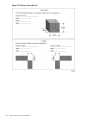
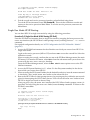
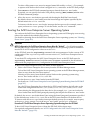
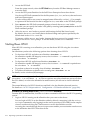
6.
Slide the board from the chassis.
Figure 6-65 Core I/O Detail
Replacing a Core I/O Board
To replace a core I/O board, follow these steps:
1.
2.
3.
4.
5.
Position the core I/O board in the chassis.
The board slides easily into the chassis. Use a slow, firm pressure to properly seat the
connection.
Tighten the two retaining screws, securing the board to the chassis.
Connect the cables that were labeled and detached during removal of the core I/O.
Reset the nPartition with the MP RR command. This command stops the boot process at BIB
and enables you to check the firmware revision of the new MP. Update or backdate as
needed. Configure the network settings as outlined in the following section.
Configuring MP Network Settings
After removing and replacing the core I/O in the server, configure the customer LAN network
settings, using the settings from the original (replaced) core I/O.
To configure MP network settings, use the MP Command menu’s LC command. To list the current
MP network configuration, use the LS command.
Default MP Network Settings
Table 6-6 lists an example of the default customer LAN network settings for the server.
Table 6-6 Default Configuration for MP Customer LAN
Customer LAN IP Address
192.168.1.1
Customer LAN Host Name
gsp0
Configuring MP Network Settings
163