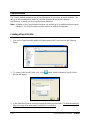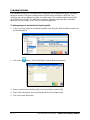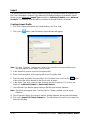
1
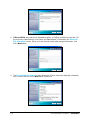
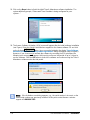
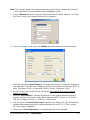
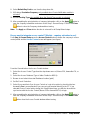
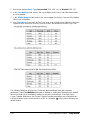
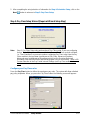
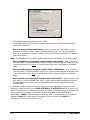
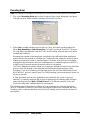
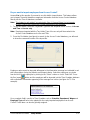
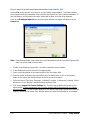
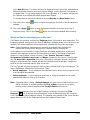
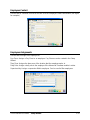
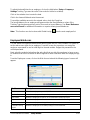
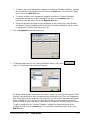
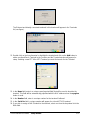
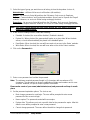
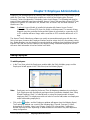
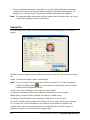
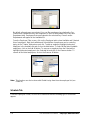
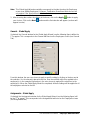
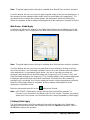
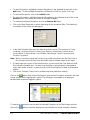
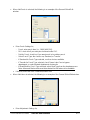
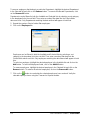
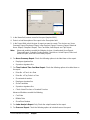
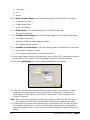
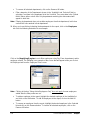
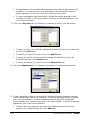
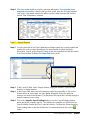
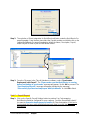
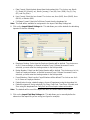
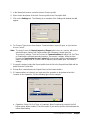
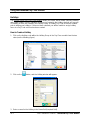
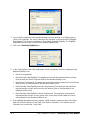
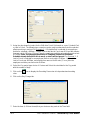
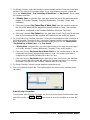
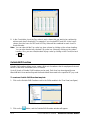
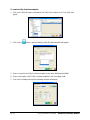
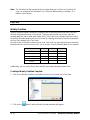
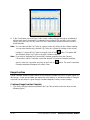
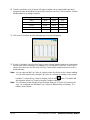
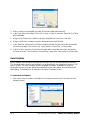
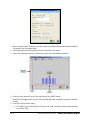
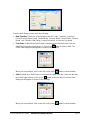
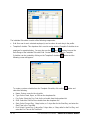
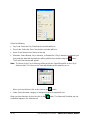
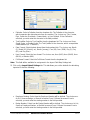
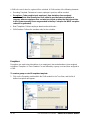
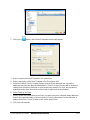
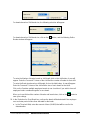
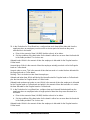
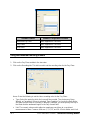
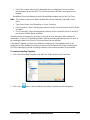
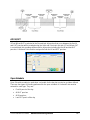
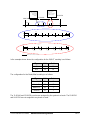
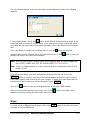
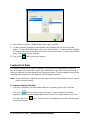
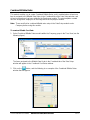
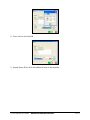
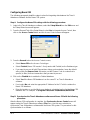
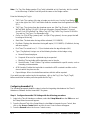
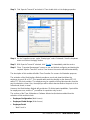
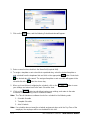
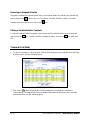
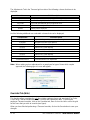
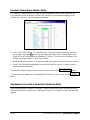
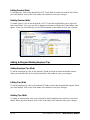
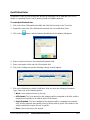
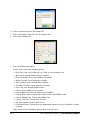
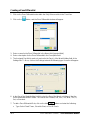
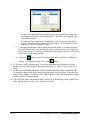
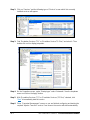
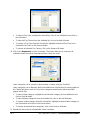
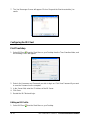
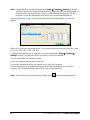
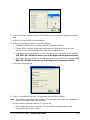
4. Select the Default (Punch) Position, Start or End, that the break or meal will be based upon.
5. Select Flex as the Type and Window as the Flex Type.
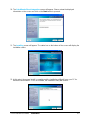
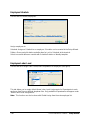
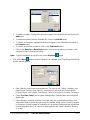
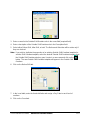
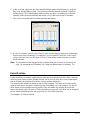
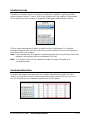
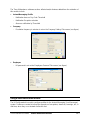
6. Place a check in the Auto Meal check box if you wish to have an automatic break deduction.
Enter in the required number of hours to work before the deduction is applied and select the
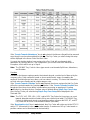
Meal Position of the shift to deduct from. The Meal Position is used to determine where in
the employee’s worked hours the system will deduct the time for the flexible meal if the
employee does not take it. You have the choice of deducting the meal length from the Start
or End of the employee’s shift. If Start is selected, then the length of the meal will be
deducted starting at the employee’s first IN punch and working forward. If End is selected
then the length of the meal will be deducted starting at the employee’s last OUT punch and
working backwards.
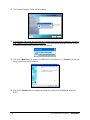
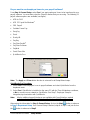
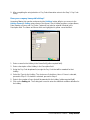
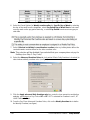
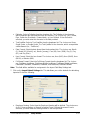
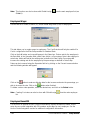
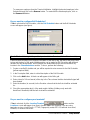
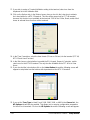
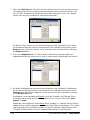
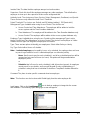
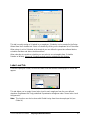
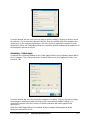
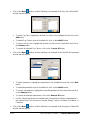
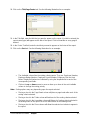
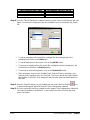
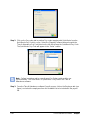
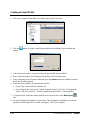
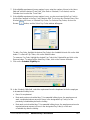
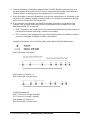
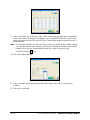
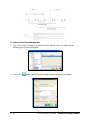
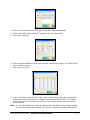
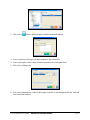
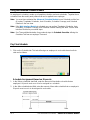
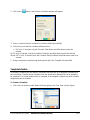
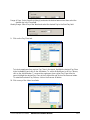
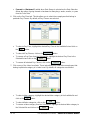
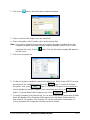
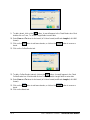
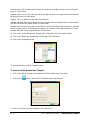
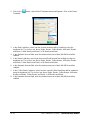
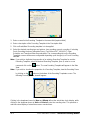
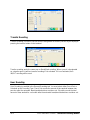
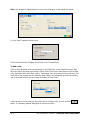
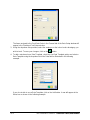
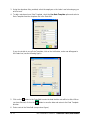
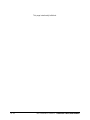
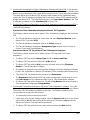
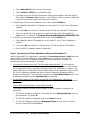
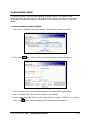
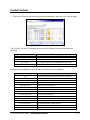
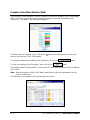
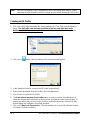
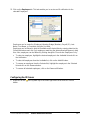
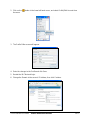
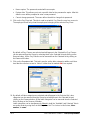
7. Click on the Breaks tab.
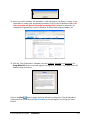
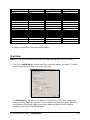
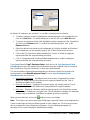
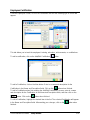
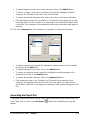
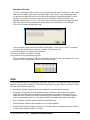
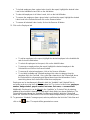
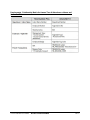
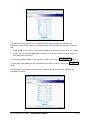
8. Select the Break size based on Default Size or Shift Break Size.
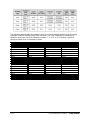
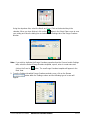
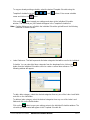
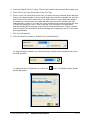
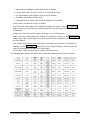
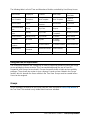
For breaks based on default size, enter the number of breaks and the default break size in
the fields provided.
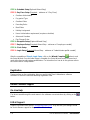
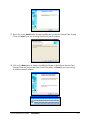
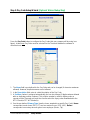
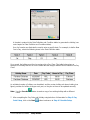
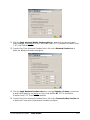
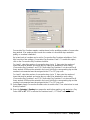
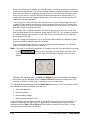
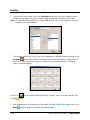
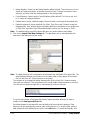
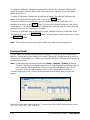
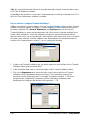
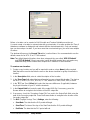
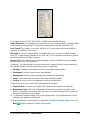
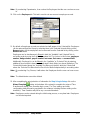
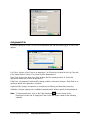
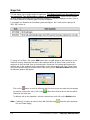
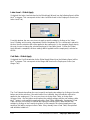
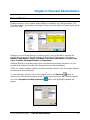
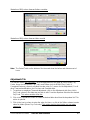
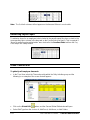
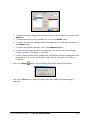
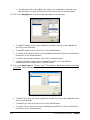
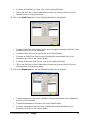
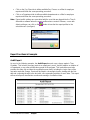
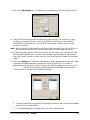
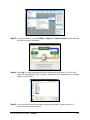
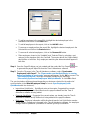
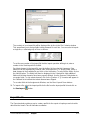
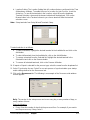
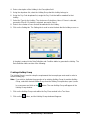
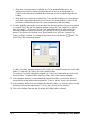
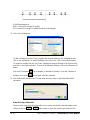
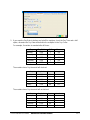
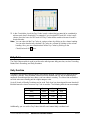
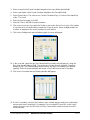
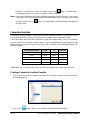
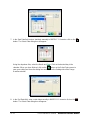
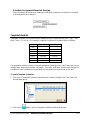
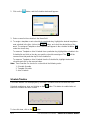
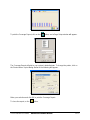
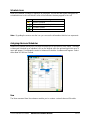
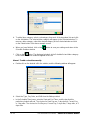
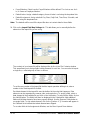
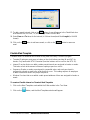
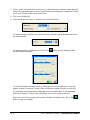
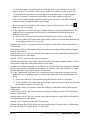
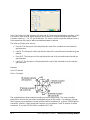
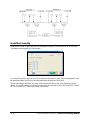
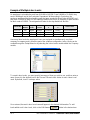
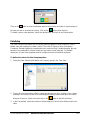
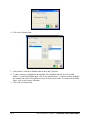
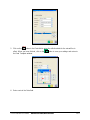
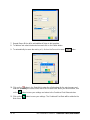
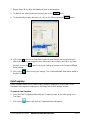
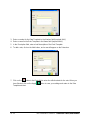
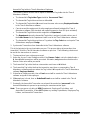
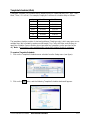
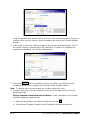
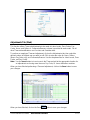
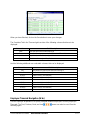
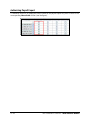
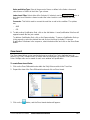
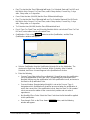
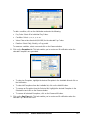
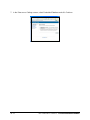
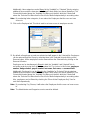
For breaks based on Shift break size, click on the
window will appear:
Time & Attendance Software – Advanced Meal Module
button. The following Define Breaks
13-13