1
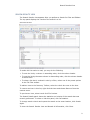
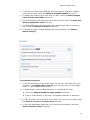
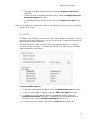
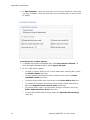
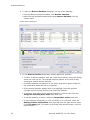
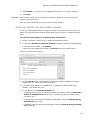
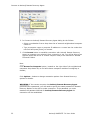
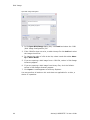
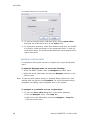
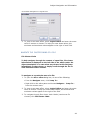
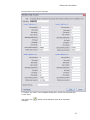
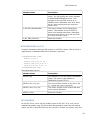
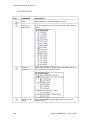
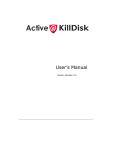
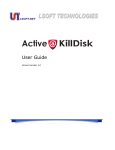
Disk Image
· If you want the data from a file to be restored from the disk image to
the same exact location as they were before, then use a raw disk
image. A regular image saves all current data but restores files to
different sectors, allowing the partition to shrink or grow, depending
on the size of the replaced file. In a regular situation, you should not
be concerned about partition size. If the partition size is important,
however, a raw image is the solution.
CREATE A DISK IMAGE
Using Active@ UNDELETE you can create a Disk Image of a logical Drive
or a Physical Device.
To create a Disk Image:
1. In Recovery Explorer, select a logical drive, a partition or a physical
device.
2. To open the Create Disk Image dialog box, do one of the following:
· From the Tools menu, choose Disk Image > Create.
· From the Recovery Explorer toolbar, click Create Disk Image.
· Right-click the selected item and click Create Disk Image from the
context menu.
Create Disk Image Dialog Box
3. In the Create Disk Image dialog box, do the following:
· To change the selected disk, choose one from the Disk drop-down
list.
· To specify an area to image, click Select. The Select Disk Area
dialog box appears. Indicate the first and last sectors and click OK.
· Enter the path to the destination folder in Destination path. To
browse to the path, click the ellipsis button (…). If the disk image is
saved in chunks, all chunk files will be created in the same folder.
· Enter a brief description about this disk image for future reference.
38
Active@ UNDELETE 7.0 User Guide