
1
Distributed Monitoring
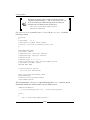
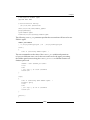
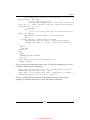
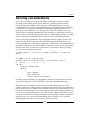
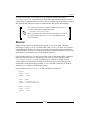
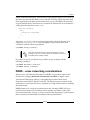
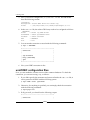
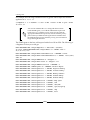
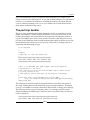
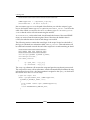
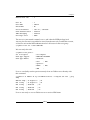
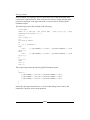
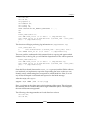
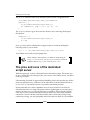
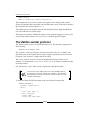
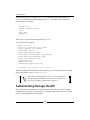
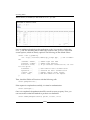
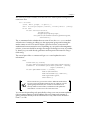
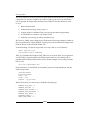
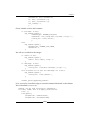
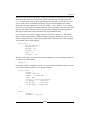
On the Zabbix proxy's stunnel.conf, add the following lines:
[server]
accept = localhost:10055
connect = zabbix.server:10055
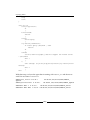
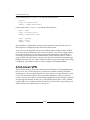
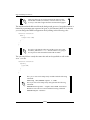
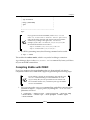
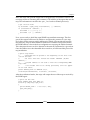
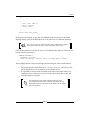
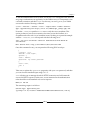
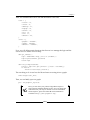
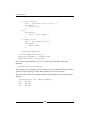
On the other node's stunnel.conf, add the following lines:
[node - send]
accept = localhost:10059
connect = node.server:10059
[node – receive]
accept = 10057
connect = 10051
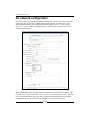
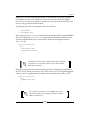
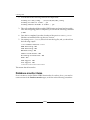
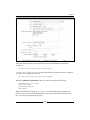
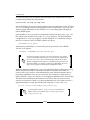
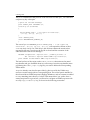
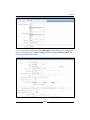
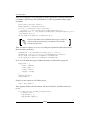
Just remember to update the host and port information for proxies and servers in
their respective configuration files and web frontend forms.
As you can see, the problem with port-forwarding tunnels is that the more tunnels
you set up, the more different ports you have to specify. If you have a large number
of proxies and nodes or if you want to encrypt the agent data as well, all the port
forwarding will quickly become cumbersome to set up and keep track of. This is a
good solution if you just want to encrypt your data on an insecure channel among a
handful of hosts, but if you want to make sure that all your monitoring traffic is kept
confidential, you'll need to resort to a more complete VPN implementation.
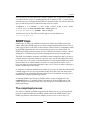
A full-blown VPN
This is not the place to discuss the relative merits of different VPN implementations,
but if you do use a VPN solution in your network, consider switching all Zabbix
monitoring to your encrypted channel. Of course, unless you want the whole world
to look at your monitoring data, this is practically mandatory when you link two
nodes or a server and a proxy from distant geographical locations that are connected
only through the Internet. In that case, you hopefully already have a VPN, whether
a simple SSL one or a full-blown IPsec solution. If you don't have it, protecting your
Zabbix traffic is an excellent reason to set up one.
[ 76 ]






















![1 Manual structure [Zabbix]](http://vs1.manualzilla.com/store/data/005957850_1-702bebeaffa08ff074416c0b3ac2050f-150x150.png)
![1 Getting Zabbix [Zabbix]](http://vs1.manualzilla.com/store/data/005748780_1-c6fae7d52ae49b905c6dc80adee0ad61-150x150.png)


![14. Distributed monitoring [Zabbix]](http://vs1.manualzilla.com/store/data/005830336_2-51982406f79fcf7c554e6482a06becfc-150x150.png)