1
Chapter 3
•
Connecting to a Database
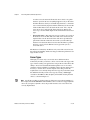
Select Tools»Create Data Link in LabVIEW to display the Data
Link Properties dialog box.
Note The Database Connectivity Toolkit installer creates a directory called data links
inside the labview/Database directory. Save all UDL files and file DSNs to this
directory so you can find them easily.
•
In Windows Explorer, right-click an empty location in a folder and
select New»Text Document from the shortcut menu. Change the file
extension of this document from .txt to .udl. You then can
double-click the UDL file to display the Data Link Properties dialog
box.
Configuring a UDL
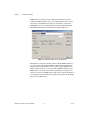
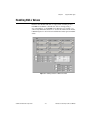
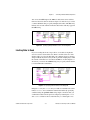
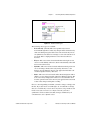
Any method of creating a UDL involves the Data Link Properties dialog
box. Select a data provider from the Provider page of this dialog box. Refer
to Chapter 2, OLE DB Providers, to determine which provider to use with
a database.
After you select a data provider from the list on the Provider page, you can
configure the database connection on the Connection page. The options on
the Connection page are different depending upon which provider you
choose. For example, the Connection page for an ODBC provider contains
a selection for a DSN or connection string along with user name and
password information. Click the Test Connection button to test the
database connection after you configure the various properties. Make sure
the connection test passes before you click the OK button to exit.
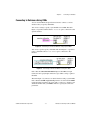
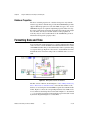
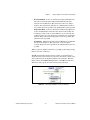
Connecting to Databases Using UDLs
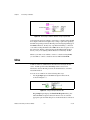
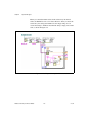
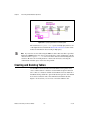
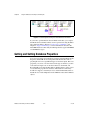
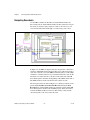
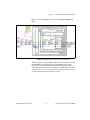
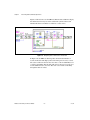
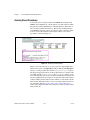
Use a path control or constant to specify the path to a UDL file unless you
set the prompt? input of the DB Tools Open Connection VI to TRUE. The
VI in Figure 3-6 uses a path constant to specify the UDL for a Microsoft
Access database.
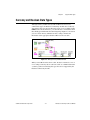
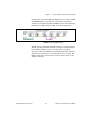
Figure 3-6. Connecting to a Microsoft Access Database Using a UDL
© National Instruments Corporation
3-5
Database Connectivity Toolkit User Manual