1
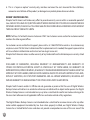
original rearview mirror. Tip: Use both hands on either side of the mirror to snap into place evenly. Make
sure the mirror is centered before snapping into place.
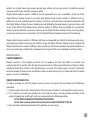
6. Once the Yada mirror is in place, reach behind and one by one reattach the Hook and Loop straps
together to hold the Yada mirror tight in place.
7. At this time you can trim off any excess strap with a scissor.
8. Remove the Yada mirror protective overlay.
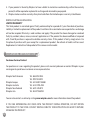
9. Now power the mirror.
a. 12V/24V Power Adapter
i. Take the 12V/24V Power Adapter and plug in adapter to top of the Yada mirror. Plug other end into
12V Power in your car.
b. Hard wire
i. Take the Hard Wire Power Adapter and plug adapter into the top of the mirror. Run cable to fuse
box and connect to fused accessory power source. Refer to your vehicle owner manual for location
of available accessory fuses.
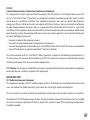
10.At this time, the Yada Mirror Monitor is ready to be powered on.
Dash Monitor Installation
1. Stick the windshield holder on the windshield and adjust to your desired position.
2. Hook the Dash Monitor on to the windshield mount.
3. Remove the Yada Dash Monitor protective overlay.
4. Now power the monitor:
a. 12V/24V Power Adapter
Take the 12V/24V Power Adapter and plug in adapter in the right side of the Yada Dash Monitor. Plug
the other end into 12v/24v power port in your car.
b. Hard wire
Take the Hard Wire Power Adapter and plug adapter in the right side of the Yada Dash Monitor. Run
cable to fuse box and connect to fused accessory power source. Refer to your vehicle owner manual for location of available accessory fuses.
10. At this time, the Yada Dash Monitor is ready to be automatically powered on when the vehicle
engine starts.
Backup Camera Installation
Note: Camera installation on diesel vehicles may require different wiring install.
4