1
To use iSCSI, you’ll obviously require a device that supports the iSCSI protocol. This may be an
existing SAN on your network. It can also be a regular Windows server that runs an instance of
iSCSI Target software.
Microsoft has its own iSCSI Software Target software. However, this software is intended for use
atop Windows Storage Server. Third parties also distribute software that installs as a service to a
regular Windows server. That service exposes the server’s direct-attached disks to locations
anywhere on your network.
Once installed, the next step always starts at the iSCSI Target. Prior to connecting any “client”
computers to this device’s exposed LUNs, you’ll first need to create and expose those LUNs to
the network. The details of this process will vary greatly and depend on your device and your
software. Consult your iSCSI Target’s manual for the details. At the very least, you’ll have to
carve out a quantity of disk space as a LUN, connecting that LUN to the proper network and
network interfaces, and adding any security or authentication options.
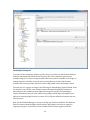
Once you’ve completed this first step, creating a basic connection requires only a few clicks.
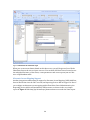
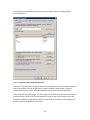
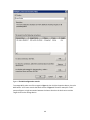
First, enter the IP address or DNS name of the server or device that runs the iSCSI Target
software into the Target field shown in Figure 1and click Quick Connect. If you’ve correctly
created and exposed your LUNs to this server, you’ll see them appear in the list of Discovered
targets.
Figure 1 shows four discovered targets, three of which have been connected. Discovered targets
always appear first in an Inactive state. This ensures that you can connect to them only when
you’re ready.
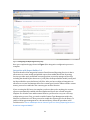
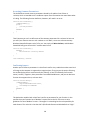
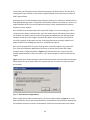
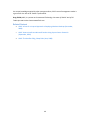
Figure 2 The Connect to Target wizard.
Select a target and click the Connect button. You’ll see a window similar to Figure 2. For most
basic connections, ensure that the top checkbox is marked and click the OK button. Marking the
top checkbox instructs the system to automatically restore the connection after every reboot.
43