1
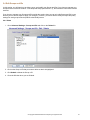
5.1.3 Display Categories
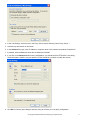
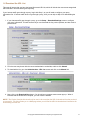
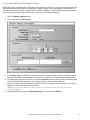
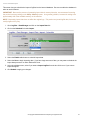
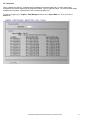
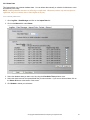
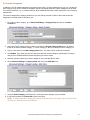
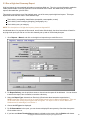
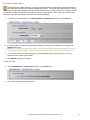
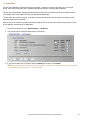
This screen lets you create, edit and delete Display Categories "policies." That is, it lets you establish settings
that specify which content category tables are to be displayed in reports. These policies can be applied to
Groups or IDs as you see fit (See Section 2 to read more about Groups and IDs).
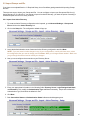
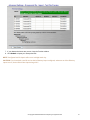
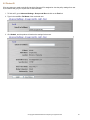
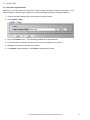
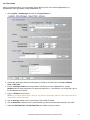
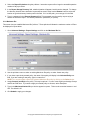
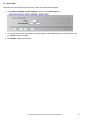
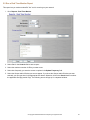
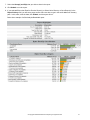
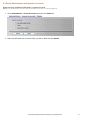
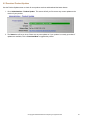
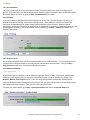
1. Go to Advanced Settings – Report Settings and click on the Display Categories link.
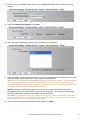
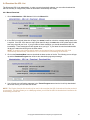
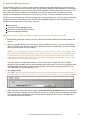
2. Use the pull-down menu to select an Available Policy to modify, or leave the default selection Create new
policy.
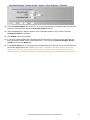
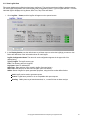
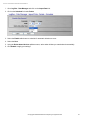
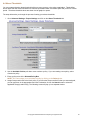
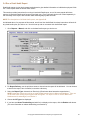
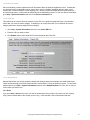
3. If you chose a previously created policy, its name will display in the Selected Policy text field. If you are
creating a new Display Categories policy, type in a name for it.
NOTE: You can also delete a Display Categories policy by clicking on the Delete button.
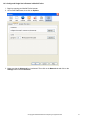
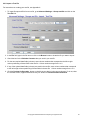
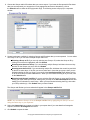
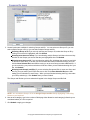
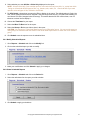
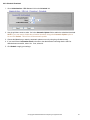
4. Assign Groups and IDs to the policy. This step is optional. You can create a policy and assign Groups
and IDs at a later time. If you wish to apply a universal policy to all users, select Enterprise.
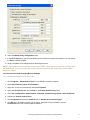
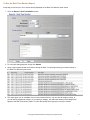
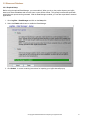
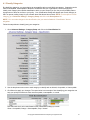
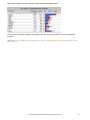
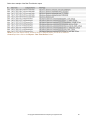
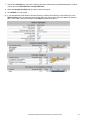
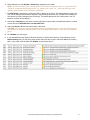
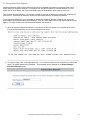
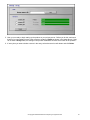
5. Select Categories to Be Displayed in reports by selecting the On radio button. For categories not to be
displayed, select the Off radio button.
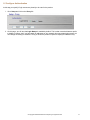
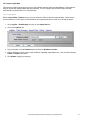
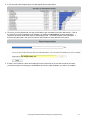
6. Click Submit to apply your changes.
© Copyright 1996-2008 Wavecrest Computing. All rights reserved.
60