1
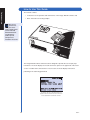
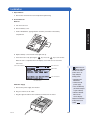
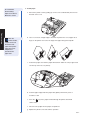
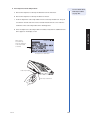
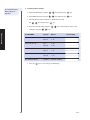
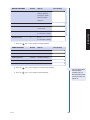
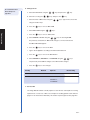
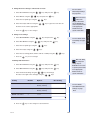
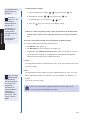
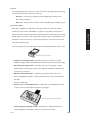
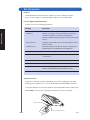
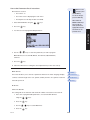
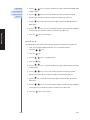
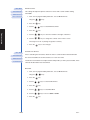
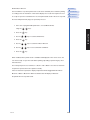
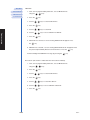
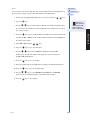
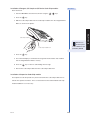
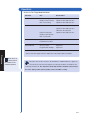
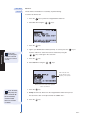
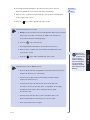
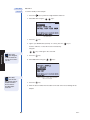
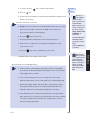
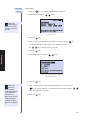
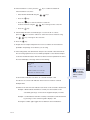
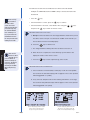
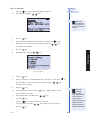
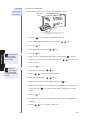
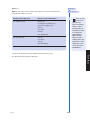
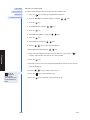
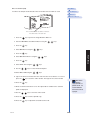
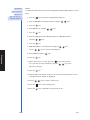
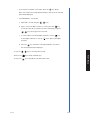
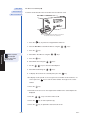
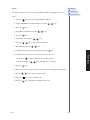
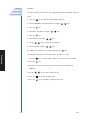
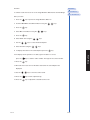
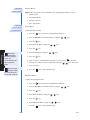
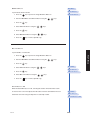
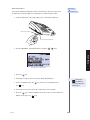
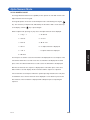
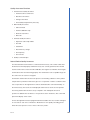
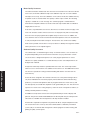
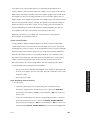
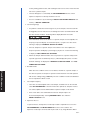
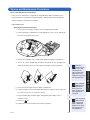
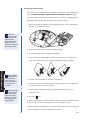
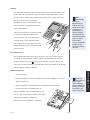
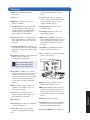
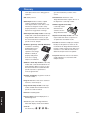
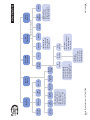
How to Set Parameters: Basic Instructions Note: To save changes, press the ENTER key. All instructions assume: • The meter is on. • The meter screen is displaying the main menu. • The Supervisor Code Chip module is installed. 1. Select Set Parameters using the 2. Press the To cancel changes, press the EXIT key. When either the ENTER or EXIT keys are pressed, the meter performs the appropriate function and returns to the previous menu. keys. key. Installation 3. You will see a list of programmable parameters. The Set Parameters Menu 4. Use the keys to select the parameter you want to program: Meter Settings, Clock, User ID, Ranges, Test Settings, QC Parameters, or Bypass. 5. Press the key. 6. Follow the directions for setting the selected parameter (see the next section). Meter Settings Main Menu This menu will allow you to set basic operational criteria for the meter: language, display Set Parameters contrast, maximum length of the user, patient, auxiliary and misc. ID’s, printer mode and Meter Settings automatic power off. ID Settings ID Settings Characters User ID This setting will set the minimum and maximum number of characters in the User ID. 1. From a list of programmable parameters, choose Instrument Settings using the 2. Press the 3. Use the 4. Press the Rev F keys. key. keys to select ID Settings. key. N-11