1
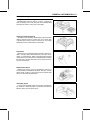
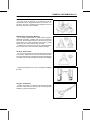
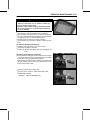
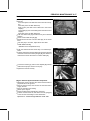
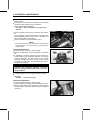
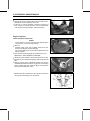
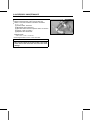
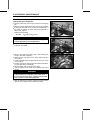
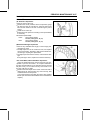
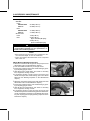
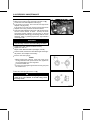
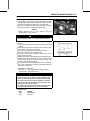
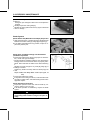
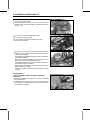
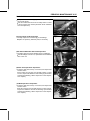
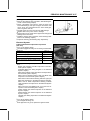
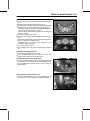
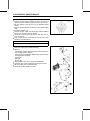
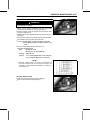
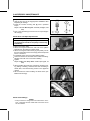
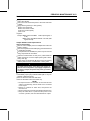
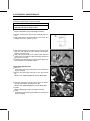
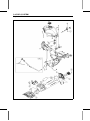
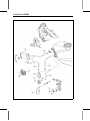
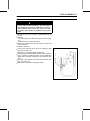
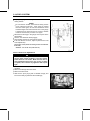
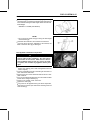
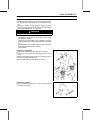
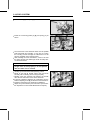
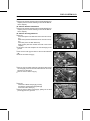
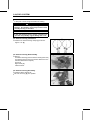
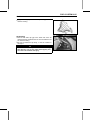
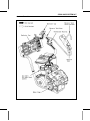
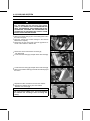
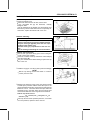
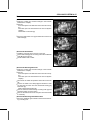
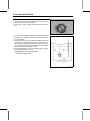
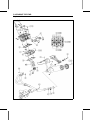
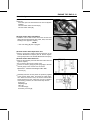
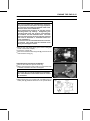
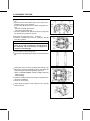
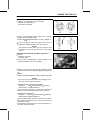
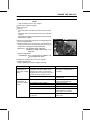
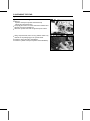
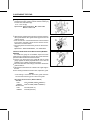
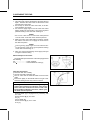
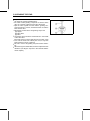
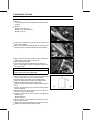
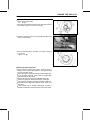
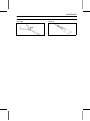
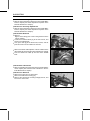
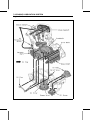
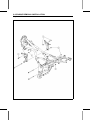
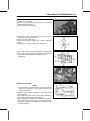
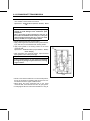
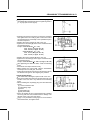
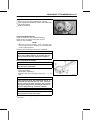
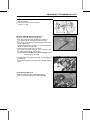
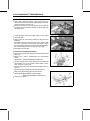
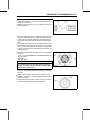
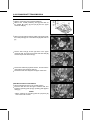
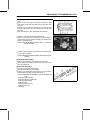
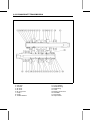
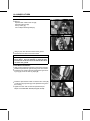
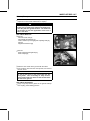
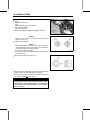
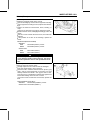
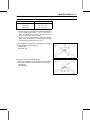
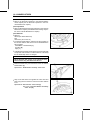
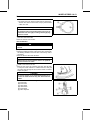
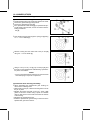
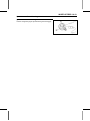
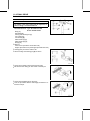
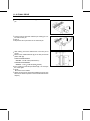
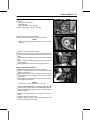
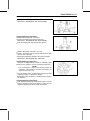
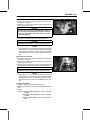
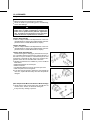
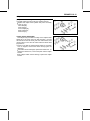
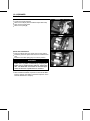
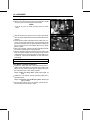
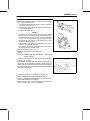
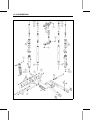
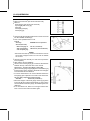
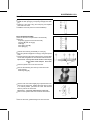
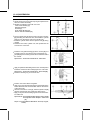
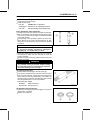
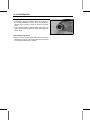
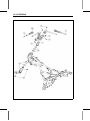
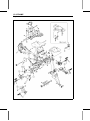
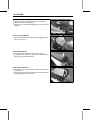
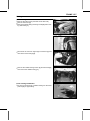
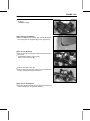
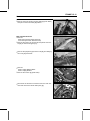
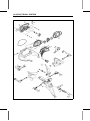
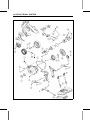
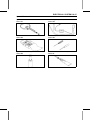
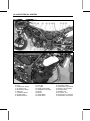
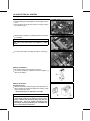
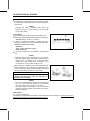
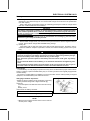
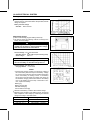
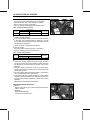
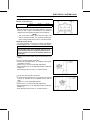
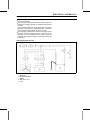
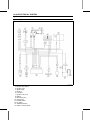
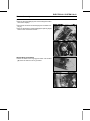
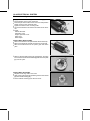
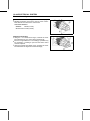
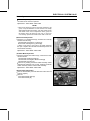
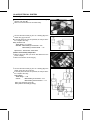
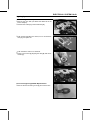
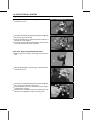
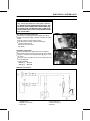
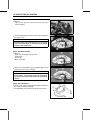
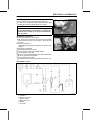
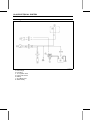
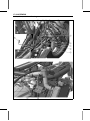
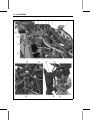
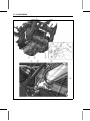
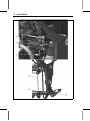
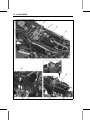
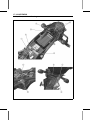
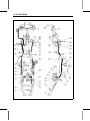
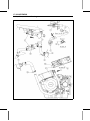
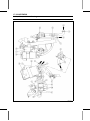
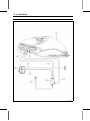
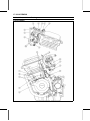
SUSPENSION 13-17
Tie-Rod, Rocker Arm
Tie-rods Removal
the lower fairings (see Lower Fairing Removal in
• Remove
the Frame chapter).
• Raise the rear wheel off the ground with jack.
Special Tools - Jack: 57001-1238
Jack Attachment: 57001-1608
the tie-rod lower bolt [A] and nut.
• Remove
Remove
• the tie-rodthe[C].tie-rod upper bolt [B] and nut, and take off
• Remove the other tie-rod.
Tie-Rod Installation
• Install the tie-rod upper bolt first and then the lower bolt.
Torque - Tie-rod Nuts: 59 N·m (6.0 kgf·m, 44 ft·lb)
Rocker Arm Removal
the lower fairings (see Lower Fairing Removal in
• Remove
the Frame chapter).
• Raise the rear wheel off the ground with jack.
Special Tools - Jack: 57001-1238
Jack Attachment: 57001-1608
• Remove:
Rear Shock Absorber Lower Nut and Bolt [A]
Tie-rod Lower Nut and Bolt [B]
Rocker Arm Pivot Shaft [C]
Rocker Arm [D]
○Support the rear wheel to remove the bolts.
CAUTION
When pulling out the bolts, lift the rear wheel
slightly. Forcing or tapping on a bolt could damage
the bolt and sleeve.
Rocker Arm Installation
grease to all the O-ring, bushing, sleeve, grease
• Apply
seal.
• Tighten:
Torque - Rocker Arm Pivot Nut: 59 N·m (6.0 kgf·m, 44 ft·lb)
Tie-rod Nut: 59 N·m (6.0 kgf·m, 44 ft·lb)
Rear Shock Absorber Mounting Nut: 59 N·m (6.0
kgf·m, 44 ft·lb)
Tie-rod, Rocker Arm Bushing Inspection
busings wear so little that the wear is difficult to mea• The
sure. Instead, inspect the bushings for abrasion, color
change or other damage.
If there is any doubt as to the condition of either bushings,
replace the busing with new one.
Tie-rod, Rocker Arm Sleeve Inspection
If there is visible damage, replace the sleeve with new
one.