1
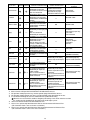
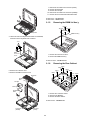
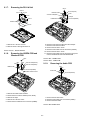
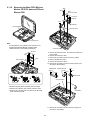
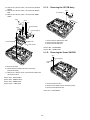
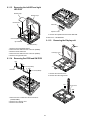
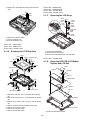
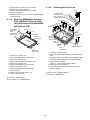
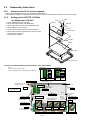
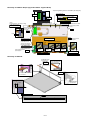
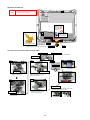
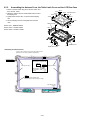
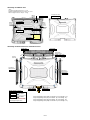
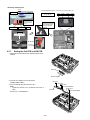
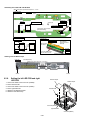
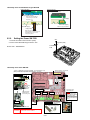
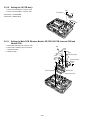
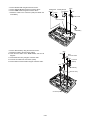
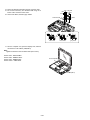
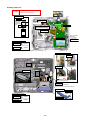
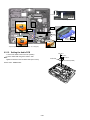
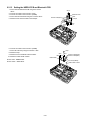
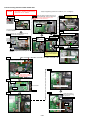
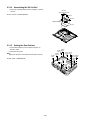
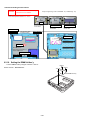
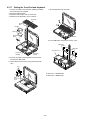
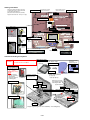
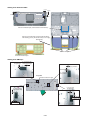
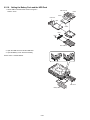
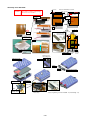
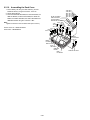
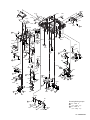
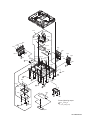
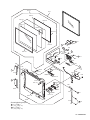
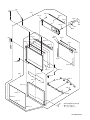
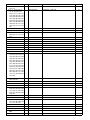
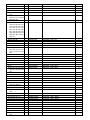
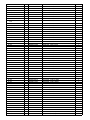
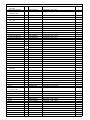
Assembly of Main Unit S1:Insulation S2:Bitten S3:Sharp Edge S4:Part No. Check S5:Other CAUTION Audio FPC Ass'y Audio FPC Audio FPC Ass'y Attach to the center of FPC in upper and lower direction. ±3mm 㽲 Insert before setting the Main Board. Tape Fold back. 0~1mm Insert Insert and then lock. Stiffening Plate Side 㽴 㽳 㽵 Thermal Sheet Apply the lubricant (sub material) on the HDD Connector for about 1 second. 㽳 㽲 (Note for spraying around when applying.) 㽶 㽹 Thermal Sheet 㽷 Attach to the center of Module. Round to make the brown side outside and insert the notch. 㽸 S4 Attach to the DIMM (2nd) socket. * No need to attach for the Camera model. Wireless Module DIMM EMI Sheet Places of tighten a screws Screw (N9) 8 Places Screw (N19) 2 Places Insert and then lock. Torque of tightening screw (N9):0.2r0.02Nm(ѳ2.0r0.2kgfcm) Attach the LAN/Modem Holder. LAN/Modem Holder Diagonal view HDD CON Guide Slide the hook under the Main Board. 㽲 㽳 㽳 㽲 㽴 Pass the Cable through the cavity part of Holder. 㶎 Note S2 Avoid catching between the connector and Holder or running over the top. SD PCB Ass'y Insert the FPC into the Main Board. 㽶 㽵 Ensure that the Knob is fit to SW when attaching. DIMM Holder Ass'y RF SW Knob Places of tighten a screws Screw (N8) 2 Places Screw (N19) 5 Places 䉿䊜䉕ᝌ DIMM Holder 9-25