1
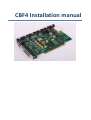
HSAJET CBF4 installation manual
Installation of a single CBF4
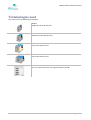
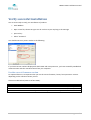
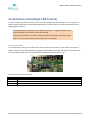
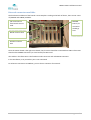
Installing a single CBF board in a PC allows you to operate one of the following printer setups:
Number of pens
1, 2, 3 or 4 in a single head
Notice
Connects directly to back of CBF
1+1
1+1+1
1+1+1+1
2+1
2+2
3+1
Connects using a HPHF distributor box connected to
the back of the CBF
The installation requires one or two free slots in your PC.
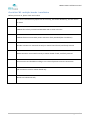
Installation procedure
Caution: make sure you disconnect power completely before you start this procedure !
Serious damage to health and equipment may occur if you operate inside a PC with
power on.
•
Remove the PC chassis cover
•
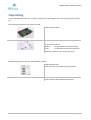
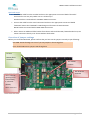
Unpack the CBF board and confirm all jumpers are set correctly (see below)
•
Remove the bracket opposite the PCI slot that you intend to use. Keep the screw for later use.
•
Locate the gold fingers of the CBF over the PCI slot and press firmly down until the card is
completely seated in the slot. The gold fingers should not be visible at this point. If too much force
is needed look for any obstacles which prevents the proper seating of the CBF.
•
Secure the card to the chassis with the screw you removed earlier.
•
The CBF needs power supply in form of a standard internal PATA power connecter (IDE Big 4-pin
power connector). If necessary, use a Y-split cable from a hard drive.
Make sure that your PC has sufficient power to drive the print heads.
At least 10A per card you install (in 12V) should be available from the power supply.
Version: 2010-12-16
Page 8 of 22