1
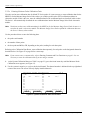
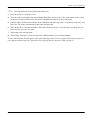
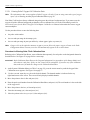
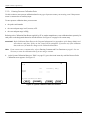
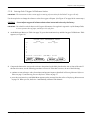
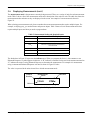
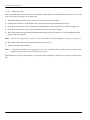
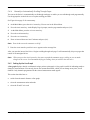
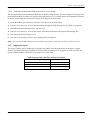
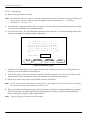
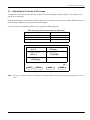
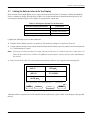
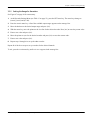
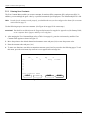
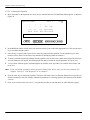
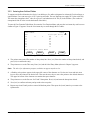
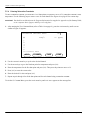
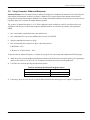
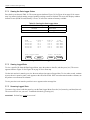
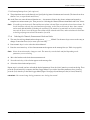
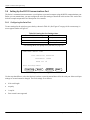
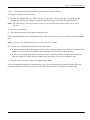
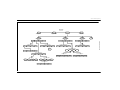
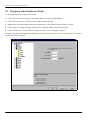
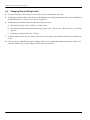
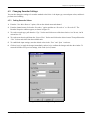
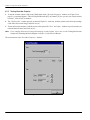
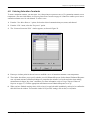
Chapter 3. Advanced Programming 3.3.2 Entering the Setpoint and Deadband Values for Alarms See Figure 47 on page 84 for a menu map. IMPORTANT: Select the measurement mode and units before you enter the setpoints. The meter changes the format for the allowable number of digits, depending on the measurement units entered. 1. At the Alarm Settings Menu (see Table 14 on page 56), press the CHANNEL key to scroll to the channel for the alarm you want to set, and then press SET. 2. Press the [AB] key to select the desired alarm. Note: If you have entered the Measurement Mode and Units, you may enter the setpoint at this step. The pointer moves automatically from the Trip to the Setpoint line. 3. Move the pointer to Setpoint: and press [YES] to erase the existing value. 4. Enter a new setpoint value, and press [YES] to confirm the new value. Note: If the alarm set point value is blank or invalid, the old value will be restored. The deadband allows users to set a programmable range of (normally small) values beyond the setpoint, so that the Series 1 will not trigger an alarm unless the measured value goes outside the deadband range. On a High alarm, the alarm will trip if the measurement is greater than or equal to the setpoint. It will not RESET until the measurement is less than the setpoint minus the deadband. However, on a Low alarm, the alarm will trip if the measurement is less than or equal to the setpoint. It will not RESET until the measurement is greater than the setpoint plus the deadband. 5. Move the pointer to the deadband line, and press [YES] to erase the existing value. 6. Enter a new deadband value, and press [YES] to confirm the new value. To exit, press the DONE menu key until Main Menu appears on the message line. 58 Moisture Image Series 1 Advanced Programming