1
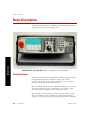
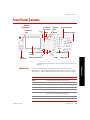
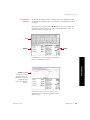
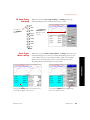
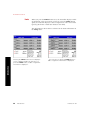
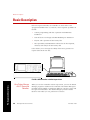
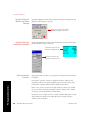
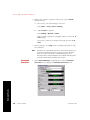
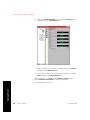
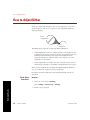
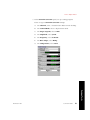
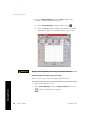
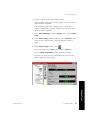
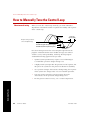
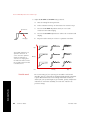
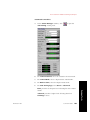
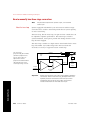
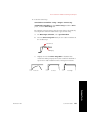
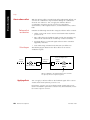
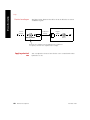
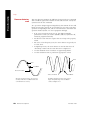
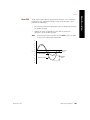
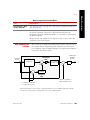
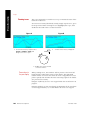
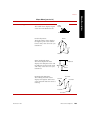
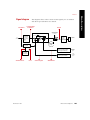
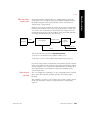
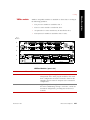
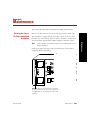
How to Set Servovalve Polarity
4. If necessary, clear hydraulic interlocks.
If the Hydraulic Interlock indicator is lit, determine the cause,
correct it, and then press reset. If an interlock indicator lights
again, you will need to determine the cause and correct it before
proceeding.
5. Apply hydraulic power.
6. Check the movement of the actuator to determine servovalve
polarity.
A.
Enable the front panel Dial.
B.
Press the Status button twice to display the Status menu, and
select Setpoint. While observing the actuator, use the Dial to
slowly apply a positive Setpoint command to the actuator.
•
If the actuator extends when a positive command is applied,
the servovalve polarity is correct.
•
If the actuator retracts when a positive command is applied
(and the polarity setting is Normal), some electrical element
that affects the servovalve (such as conditioner polarity or
cable orientation) has been reversed and should be remedied.
•
If the actuator begins in full retraction and applying a positive
Setpoint does not extend it, zero the command, remove
hydraulic pressure, and change the servovalve polarity. Then
retry this test. If it still does not move, return to Step 2 and
increase the gain setting.
•
If the actuator begins in full extension and applying a
negative Setpoint does not retract it, zero the Setpoint
command, remove hydraulic pressure, and change the
servovalve polarity. Then retry this test. If it still does not
move, return to Step 2 and increase the gain setting.
•
If the actuator does not move at all, return to Step 2 and
increase the gain setting.
Common Tasks
7. Set servovalve polarity to achieve desired actuator movement.
64
Common Tasks
FlexTest ™ SE