1
1.3
Disassembly / Assembly
3
Operating Unit
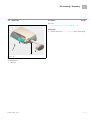
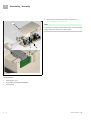
Note
Before fitting the rear panel check the screw lengths. The screws
may only be 4.5 mm long (without head). Longer screws must be
exchanged.
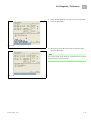
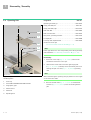
Note
Before mounting the operating unit check the plastic foam
gaskets in the housing opening for the connection cable to the
operating unit.
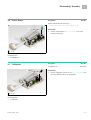
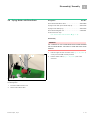
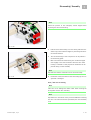
3.12 Checks after Repair
Perfusor® Space, 1.3 gb
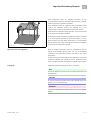
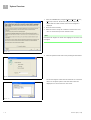
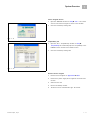
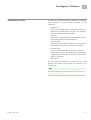
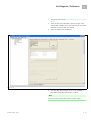
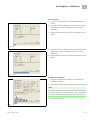
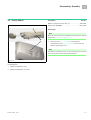
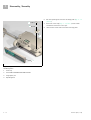
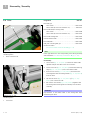
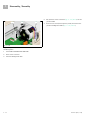
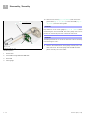
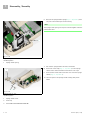
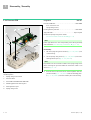
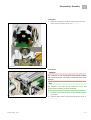
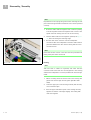
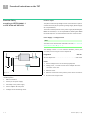
1.
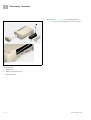
Attach the left hinge plate to the operating unit, press it into
the bottom part of the housing and install the hinge plate.
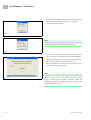
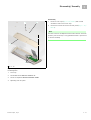
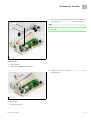
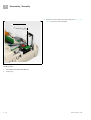
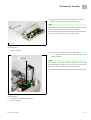
2.
Push the operating unit connection cable into the processor
PCB connector. Lock the connector.
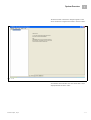
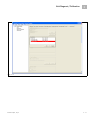
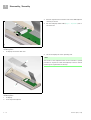
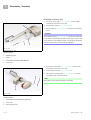
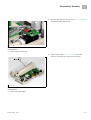
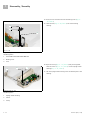
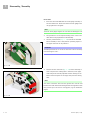
3.
Insert the PCA-slide and the PCA-eccentric in the bottom
part of the housing.
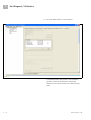
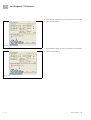
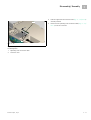
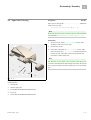
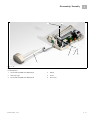
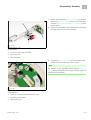
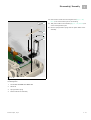
4.
Attach the right hinge plate to the operating unit and fit the
hinge plate and the operating unit into the bottom part of the
housing. Press the PCA-eccentric forward, as seen from the
back wall, until it slides into the opening on the “right hinge
plate”.
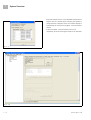
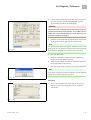
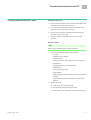
Procedure
1.
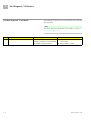
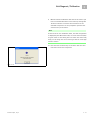
Carry out a calibration after having worked on the drive, the
syringe holder with piston brake or the processor PCB while
the device was opened (see “Calibration“ ➨ pg. 2 - 14).
2.
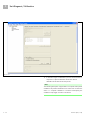
Check the device to ensure safe functionality of the unit (see
“Device Check“ ➨ pg. 2 - 9).
3.
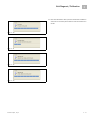
Depending on the work carried out the specific steps of the
TSC must be performed (see “Technical Safety Check (TSC)“ ➨
pg. 5 - 1).
3 - 47