1
Service and Repair
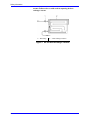
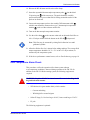
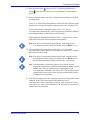
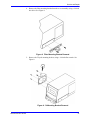
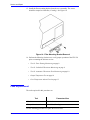
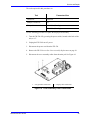
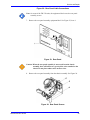
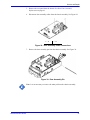
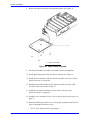
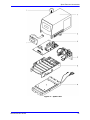
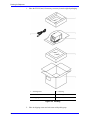
12. Connect the replacement rear panel assembly to the chassis assembly. The
screws should be torqued to 3 inch/lbs (8 cm/kg). See Figure 27.
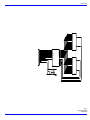
Figure 27: Rear Panel Assembly Connection
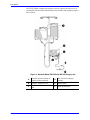
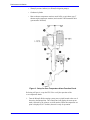
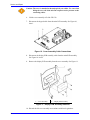
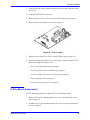
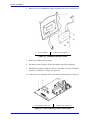
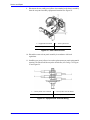
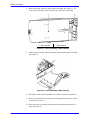
13. Connect the rear panel assembly cables to the main PCB assembly. See Figure
28.
Figure 28: Rear Panel Assembly Cable Connections
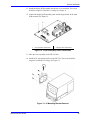
14. Install the cover assembly on the FW-538. See Cover Assembly Replacement.
step 13 on page 33.
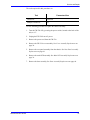
15. Perform the following checks/test to verify proper operation of the FW-538
prior to returning the unit into service:
• Test #1: Zone Heating Monitoring on page 9
• Test #2: Individual Thermistor Monitoring on page 9
• Test #3: Automatic Thermistor Zone Monitoring on page 10
• Output Temperature Test on page 10
Warmflo Model FW-538
45