1
7
Chapter
2
Installation
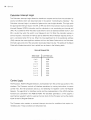
Unpacking and Inspection
If the shipping carton is damaged, ask that the carrier's agent be present when the interface is
unpacked. Inspect the interface for damage. If the interface is damaged or fails to meet
electrical specifications, immediately notify the carrier and the nearest HP sales and service
office (offices are listed at the back of this manual). Retain the shipping carton and padding
material for the carrier's inspection. The sales and service office will arrange for the repair or
replacement of your interface without waiting for the claim against the carrier to be settled.
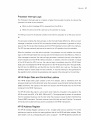
Installation
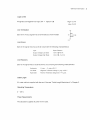
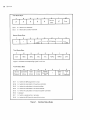
Before plugging in the bus card, verify that its address and function switches are set to your
system's needs. The switches are preset at the factory as follows:
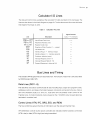
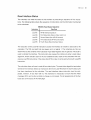
Table 4.
98034A Factory Settings
Factory Setting
Function
Switch
Select Code
7
A1S2
Parallel Poll Sense
Neg-True Logic (position 1)
A1S3 (1-5)
Calculator Address
Talk = U, Listen = 5 (off, on, off, on, off)
A1S3 (6)
System Controller
Enabled (on)
A2S1
Parallel Poll Bit
Bit 1
A1S1
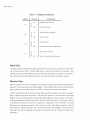
Changing any of the switch settings except select code requires opening the interface case;
see page 10 for instructions.
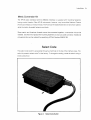
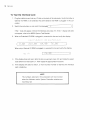
After verifying (or changing) the switch settings, install the card as follows:
1. Switch the calculator off.
2.
Insert the bus card into anyone of the I/O slots at the back of the calculator. Press the
card firmly into the slot.
3.
Verify that the required I/O ROM is plugged in to provide the calculator with bus control;
see the manual furnished with the ROM.
4.
Switch the calculator back on.