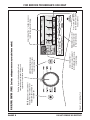
1
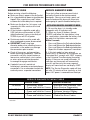
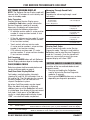
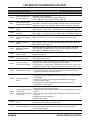
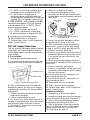
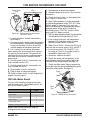
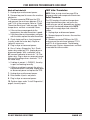
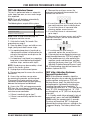
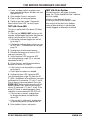
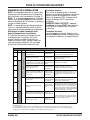
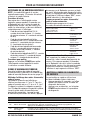
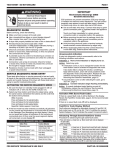
FOR SERVICE TECHNICIAN’S USE ONLY DIAGNOSTIC GUIDE SERVICE DIAGNOSTIC MODE Before servicing, check the following: Make sure there is power at the wall outlet. Has a household fuse blown or circuit breaker tripped? Was a regular fuse used? Inform customer that a time-delay fuse is required. Make sure the dryer fan, lint screen, and secondary lint filter are clear of lint and obstructions. All tests/checks should be made with a VOM (volt-ohm-milliammeter) or DVM (digital-voltmeter) having a sensitivity of 20,000 Ω per volt DC or greater. Resistance checks must be made with dryer unplugged or power disconnected. IMPORTANT: Avoid using large diameter probes when checking harness connectors as the probes may damage the connectors upon insertion. Check all harnesses and connections before replacing components. Look for connectors not fully seated, broken or loose wires and terminals, pin insertion, or wires not pressed into connectors far enough to engage metal barbs. A potential cause of a control not functioning is corrosion or contamination on connections. Use an ohmmeter to check for continuity across suspected connections. These tests allow service personnel to test and verify all inputs to the machine control electronics. You may want to do a quick and overall checkup of the dryer with these tests before going to specific troubleshooting tests. ACTIVATING SERVICE DIAGNOSTIC MODE 1. Be sure the dryer is in standby mode (plugged in with all indicators off). 2. Select any three (3) buttons (except POWER) and follow the steps below, using the same buttons (remember the buttons and the order that the buttons were pressed): Within 8 seconds, • Press and Release the 1st selected button, •Press and Release the 2nd selected button, • Press and Release the 3rd selected button; •Repeat this 3 button sequence 2 more times. 3. If this test mode has been entered successfully, all indicators on the console are illuminated for 5 seconds with “888” showing in the Estimated Time Remaining three-digit display. If there are no saved fault codes, all indicators on the console will momentarily turn off, and then only the seven segment display will come back on and display “888”. NOTE: The Service Diagnostic mode will time out after 10 minutes of user inactivity, or shut down if AC power is removed from the dryer. SERVICE DIAGNOSTIC MENU TABLE 1st Button 2nd Button 3rd Button Button Press Function Behavior - Momentary press - Press and hold for 5 secs. - Momentary press - Press and hold for 5 secs. - Momentary press - Press and hold for 5 secs. - Activates User Interface Test - Exits Service Diagnostics - Activates Install Diagnostics - Software Version Display - Displays Next Error Code - Clears the Error Codes •S ee “Activating Service Diagnostic Mode” to activate these buttons. Make sure all of step 3 is complete before activation. DO NOT REMOVE OR DESTROY PAGE 3