1
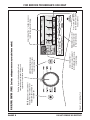
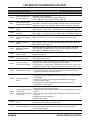
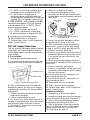
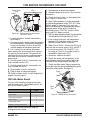
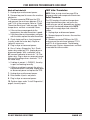
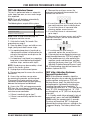
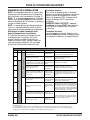
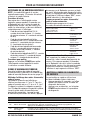
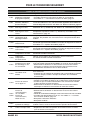
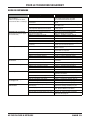
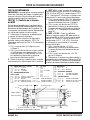
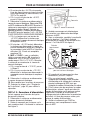
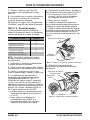
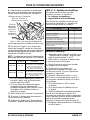
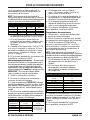
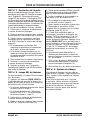
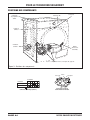
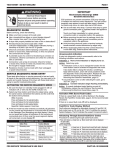
FOR SERVICE TECHNICIAN’S USE ONLY Unsuccessful Activation If entry into Loads Test mode is unsuccessful, refer to the following indications and actions: Indication 1: None of the indicators or display turn on. Action: Select any cycle. If indicators come on, select one of the “Timed Cycles” (for example, “Timed Dry”). If either the “+” button or “–” button is unable to change the time indication in the Estimated Time Remaining three-digit display, something is faulty with the button, and it will not be possible to enter the Loads Test mode. Replace the user interface and housing assembly. If the “+” and “–” buttons both work, press the POWER button to turn off the dryer and retry to activate Loads Test mode from step 1 above. If no indicators come on after selecting the cycle, go to TEST #1, CCU Power Check, page 10. Indication 2: Console indicators begin flashing immediately. Action: If console indicators begin flashing on and off immediately, replace the user interface. Activation with Saved Fault Codes If there is a saved fault code, it will be flashing in the display. Review the Fault/Error Codes table on page 8 for the recommended procedure. If there is no saved fault code, “888” will be displayed. NOTE: Entering into Loads Test mode may automatically reset some codes that may have been set, and that information could be erased. Before activating the Loads Test mode, be sure to check for Saved Fault Codes using the Service Diagnostics mode; see procedure on page 3. 1. DIAGNOSTIC: Console Buttons and Indicators Pressing each button will turn off its corresponding indicator(s) or display segment and sound a beep as shown in figure 1, page 2. Rotating the cycle selector knob turns off each corresponding cycle indicator. NOTE: A second press of the POWER button exits the mode and returns the dryer to standby mode. DO NOT REMOVE OR DESTROY If indicators do not turn off and beep after pressing buttons and rotating the cycle selector knob, go to TEST #6: Buttons and Indicators, page 18. 2. DIAGNOSTIC: Console ID, Motor, and Heater Make sure the door is closed, and then press the START button. The dryer will beep and the motor and heater will turn on. The console ID will be displayed on the LED (“099”). Opening the door stops the motor and heater. If the Console ID is not displayed, replace the user interface and housing assembly. If the motor does not turn on, go to TEST #3: Motor Circuit, page 12. If no heat is detected, go to TEST #4: Heat System, page 13. 3. DIAGNOSTIC: Door Switch/Drum LED Opening the door should display “eee” and turn on the drum light. Closing the door should turn off the drum light. If opening the door does not cause “eee” to be displayed, go to TEST #7: Door Switch, page 18. If opening the door does not turn on the drum light, go to TEST #8: Drum LED, page 19. 4. DIAGNOSTIC: Moisture Sensor Open the door and locate two metal strips on the face of the lint screen housing. Bridge these strips with a wet cloth or a finger. If a repeating beep is heard and an alphanumeric number is displayed on the console, the sensor is good. If not, or if a repeating beep tone is heard before bridging the moisture strips, go to TEST #5: Moisture Sensor, page 17. Exit Procedure To exit Loads Test, press the POWER button once or twice (depending on diagnostic procedure). PAGE 5