1
USB/Cubase LE Startup Guide
USB/Cubase LE Startup Guide
This USB/Cubase LE Startup Guide explains how to install Cubase LE on a computer, how to make the connection and settings of this unit, and how to record your instrument play.
Cubase LE Installation
Connections and Preparations
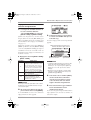
To connect this unit to a computer running Windows XP and to
enable audio input/output, proceed as follows.
Recording with Cubase LE
Windows XP
Cubase LE Installation
Cubase LE Installation
Connections and Preparations
Connections and Preparations
Recording with Cubase LE
MacOS X
Recording with Cubase LE
To connect this unit to a computer running MacOS X and enable
audio input/output, proceed as follows.
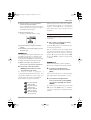
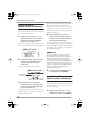
Start Cubase LE.
Install Cubase LE on the computer.
A window asking whether to check the audio input/output port
appears. Click OK to perform the check.
Insert the CD-ROM supplied with this product into the
CD-ROM drive of the Macintosh computer.
When you insert the CD-ROM supplied with this product into the CDROM drive of the computer, the installer will start up automatically.
Follow the on-screen instructions to install Cubase LE.
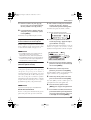
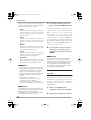
After Cubase LE has started up, access the "Devices"
menu, select "Device Setup..." and click "VST
Multitrack" in the list of devices.
The "Cubase LE" icon appears on the desktop.
Double-click the icon to open it, and use the "Cubase
LE Installer" to install Cubase LE.
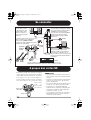
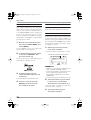
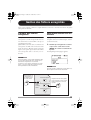
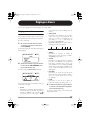
Connect this unit to the computer using a USB cable.
AC adapter
Guitar or
other instrument
or built-in
stereo mic
If another device is selected, use the pull-down menu to change the
selection to "H4 Audio".
When the setting has been made, close Audio MIDI Setup.
Computer
[INPUT 1]/[INPUT 2] jack
or
H4
[LINE OUTPUT] jack
Batteries
USB cable
Audio system or
other hi-fi playback
equipment
NOTE
• If you monitor the signal at the audio output of the computer during
recording, a delay will occur. Be sure to use the [LINE OUTPUT]
jack of the H4 for monitoring.
• When a device designed to use USB power is powered via the USB
cable, insufficient power may result in unstable operation or error
indications appearing on the display. In such a case, power the
device from an AC adapter or batteries.
• Use a high-quality USB cable and keep the connection as short as
possible. If power is supplied to a device designed to use USB
power via a USB cable that is more than 3 meters in length, the low
voltage warning indication may appear.
• The built-in stereo mic L/R or the signal from the [INPUT 1]/[INPUT
2] jack can be selected as input source. Same effects as in 4-track
mode (sampling rate 44.1 kHz only) can also be used.
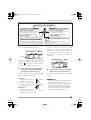
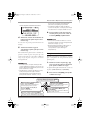
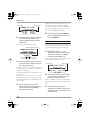
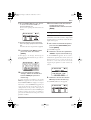
Start Cubase LE.
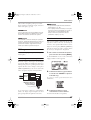
Check whether "ASIO Multimedia Driver" is selected as ASIO driver
in the right part of the device setup window.
Click the "Control Panel" button in the device setup
window. In the window that appears, click the
"Advanced Options" button.
In the advanced options window, check whether "H4 Audio" is
selected as input port and output port.
HINT
Connect this unit to the computer using a USB cable.
AC adapter
Guitar or
other instrument
or built-in
stereo mic
When Cubase LE has started up, access the
"Devices" menu, select "Device Setup...", and click
"VST Multitrack" in the list of devices.
Macintosh
[INPUT 1]/[INPUT 2] jack
or
H4
[LINE OUTPUT] jack
Batteries
The Cubase LE program is installed in the "Applications" folder.
Check whether "H4 Audio(2)" is selected as ASIO driver in the right
part of the device setup window.
USB cable
Audio system or
other hi-fi playback
equipment
NOTE
HINT
No special steps are necessary for canceling the USB connection.
Simply disconnect the USB cable from the computer.
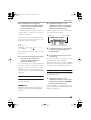
When you connect this unit for the first time to a computer running
Windows XP, a message saying "New Hardware Found" will appear.
Before proceeding, wait a while until this message disappears.
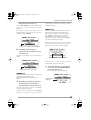
From the "Start" menu, select "Control Panel" and
double-click "Sounds and Audio Devices".
The sounds and audio devices properties screen appears. Click the
"Audio" tab and check whether "H4 Audio" is selected as default
device for audio playback and recording.
If not selected, click the respective box to place a check mark in it.
When the setting has been made, click the OK buttons to close the
windows and return to the normal post-startup Cubase LE screen.
HINT
• By clicking the Move up/Move down button in the advanced
options window, you can change the priority sequence setting of
the currently selected port. If you move "H4 Audio" to the top of the
list, it will also be at the top in the following VST input window.
• When you edit any of the settings in the advanced settings window,
a window asking whether to check the audio input/output port
appears. Click OK to perform the check.
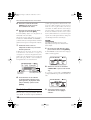
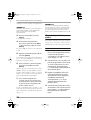
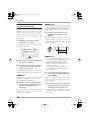
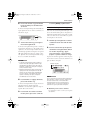
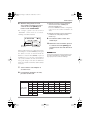
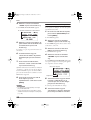
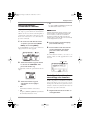
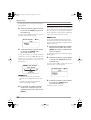
Access the "Devices" menu and select "VST Inputs".
The VST inputs window appears. Check whether the
input port is active.
Active button
If the Active button is Off (grayed out), click the button to set it to On.
• If you monitor the signal at the audio output of the computer during
recording, a delay will occur. Be sure to use the [LINE OUTPUT]
jack of the H4 for monitoring.
• When a device designed to use USB power is powered via the USB
cable, insufficient power may result in unstable operation or error
indications appearing on the display. In such a case, power the
device from an AC adapter or batteries.
• Use a high-quality USB cable and keep the connection as short as
possible. If power is supplied to a device designed to use USB
power via a USB cable that is more than 3 meters in length, the low
voltage warning indication may appear.
• The built-in stereo mic L/R or the signal from the [INPUT 1]/[INPUT
2] jack can be selected as input source. Same effects as in 4-track
mode (sampling rate 44.1 kHz only) can also be used.
If another item is selected, use the pull-down menu to change
the selection.
When the setting has been made, click the OK button to close
the window.
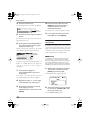
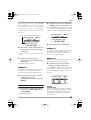
Access the "Devices" menu and select "VST Inputs".
The VST inputs window appears. Check whether the
input port is active.
HINT
No special steps are necessary for canceling the USB connection.
Simply disconnect the USB cable from the computer.
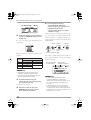
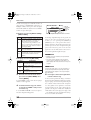
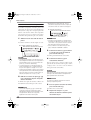
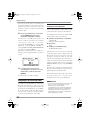
Open the "Applications" folder and then the "Utilities"
folder, and double-click "Audio MIDI Setup".
The Audio MIDI Setup screen appears.
Click "Audio Devices" and check whether "H4 Audio" is selected as
default input/default output.
Active button
If the Active button is Off (grayed out), click the button to set it to On.
Continued overleaf
If another device is selected, use the "Default Device" pull-down
menu to change the selection to "H4 Audio".
When the setting has been made, click the OK button to close the
sounds and audio devices properties screen.
HINT
When multiple input ports are available for selection, you should scroll
or enlarge the window and check the enable/disable settings for all
ports.
Continued overleaf