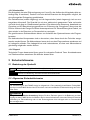
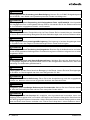
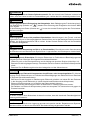
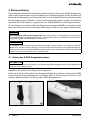
1
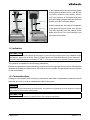
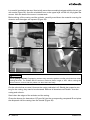
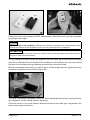
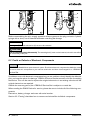
Test setting
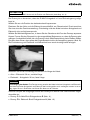
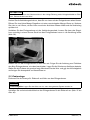
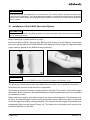
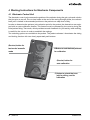
Press and hold the test mode
button (T) until the tone/light signal is emitted.
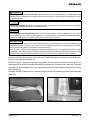
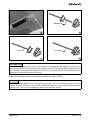
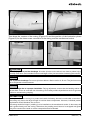
Press and hold the upper button
B until the tone/light signal is
emitted.
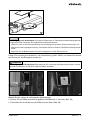
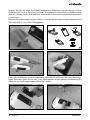
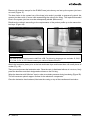
Press and hold the lower button C
until the tone/light signal is
emitted.
56
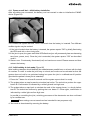
4.1.3 Auto-calibration
INFORMATION
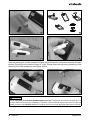
Auto-calibration requires the battery to be removed and reinserted after the test mode.
The purpose of auto-calibration is to adjust the electronics to the respective gait pattern of the
patient. The settings are independent from the position of the electronics on the orthosis, the
design of the orthosis and the fitting side of the patient.
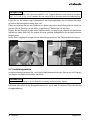
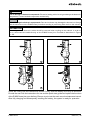
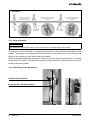
We recommend installing the electronics in the vicinity of the hip and the load line (i.e. vertical
to the load) in all cases. This allows the patient to easily switch the orthosis functions from the
inside of the pants pocket.
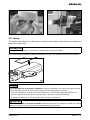
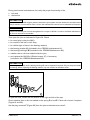
4.1.4 Positioning of the electronics
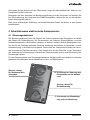
Vertical to the load line
Knee joint 10 – 30 mm posterior
62 | Ottobock
e-mag Active