1
USER MANUAL
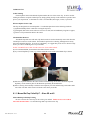
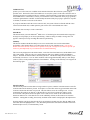
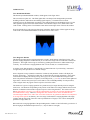
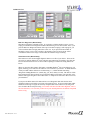
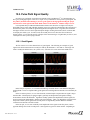
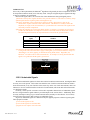
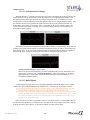
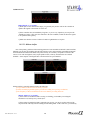
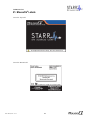
4] Check that the wiring assembly is connected to the MouseOx®, then start the software. You MUST
USE Revision 6.3 or higher with the ThroatClip™. Follow the menu of buttons, choosing those
appropriate to your measurement conditions.
5] If signals do not come in quickly, or performance degrades over time, try the following:
- Re-position the sensor
- Replace the sensor
- Shave the animal
8.1.3. Thigh Sensor
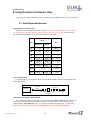
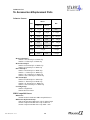
Thigh/Rat Foot Clip Sizing
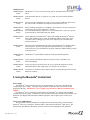
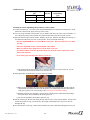
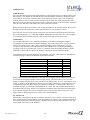
Be sure to choose the correct clip for use with a given animal. Use the following chart to pick the
correct clip.
Sensor
Type
Mouse
Weight
Range (gm)
Rat Weight
Range (gm)
Thigh
< 60
= 100
Rat Foot
N/A
> 100
Attaching the Sensor and Making Measurements
1] Anesthetize the animal, then connect the MouseOx®, Universal Cable and Mouse Thigh Sensor.
2] If you are using an animal with non-white fur, you MUST either shave the entire sensor site, or use a
depilatory product such as Nair®.
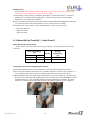
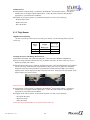
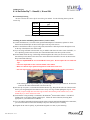
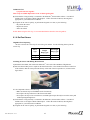
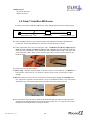
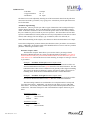
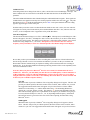
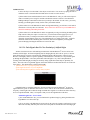
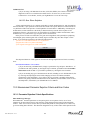
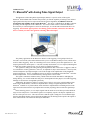
3] Place the animal either prone or supine on the lab bench surface. Place the Thigh Sensor on the THIGH
(not the lower leg!) of the animal by using the half arc shape of the sensor to grasp tissue around the
thigh bone so that the sensor protrudes in a perpendicular orientation from the thigh. This will help
align the sensor with the large arteries that reside next to the bone. Gently press the clip together on the
thigh to improve the surface contact.
NOTE: Do not use this sensor on an area other than the upper thigh.
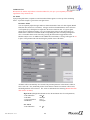
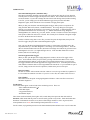
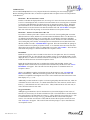
4] Check that the wiring assembly is connected to the MouseOx®, then start the software. You MUST
USE Revision 6.3 or higher with the ThroatClip™. Follow the menu of buttons, choosing those
appropriate to your measurement conditions.
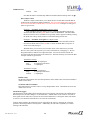
5] If signals do not come in quickly, or performance degrades over time, try the following:
- Re-position the sensor
- Replace the sensor
- Shave the animal
NOTE: Shaving is NECESSARY for any animal with non-white fur.
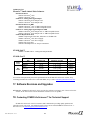
P/N 100017, Rev. 5.2.4
14