1
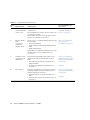
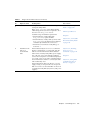
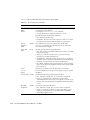
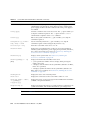
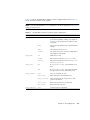
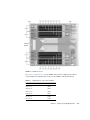
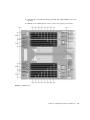
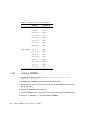
TABLE 6-1
DIMM Names and Socket Numbers
Rank 0 DIMMs
Rank 1 DIMMs
6.2.2
DIMM Name
Socket Number
CH0/R0/D1
J0701
CH0/R0/D0
J0601
CH1/R0/D1
J1201
CH1/R0/D0
J1101
CH2/R0/D1
J1701
CH2/R0/D0
J1601
CH3/R0/D1
J2201
CH3/R0/D0
J2101
CH0/R1/D1
J0901
CH0/R1/D0
J0801
CH1/R1/D1
J1401
CH1/R1/D0
J1301
CH2/R1/D1
J1901
CH2/R1/D0
J1801
CH3/R1/D1
J2401
CH3/R1/D0
J2301
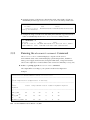
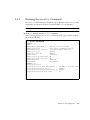
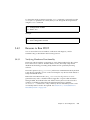
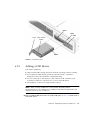
Adding DIMMs
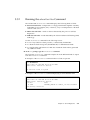
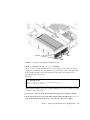
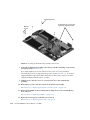
1. Perform all of the procedures in Section 5.1, “Common Procedures for Parts
Replacement” on page 5-1.
2. Unpackage the DIMMs and place them on an antistatic mat.
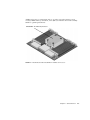
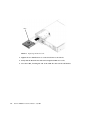
3. Ensure that the connector ejector tabs on the CPU board DIMM connectors are in
the open position.
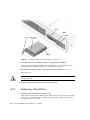
4. Line up the DIMM with the connector.
5. Push the DIMM into the connector until the ejector tabs lock the DIMM in place.
6. Repeat Step 3 through Step 5 for each additional DIMM.
6-6
Sun Fire T2000 Server Service Manual • July 2007