1
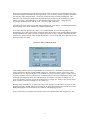
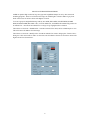
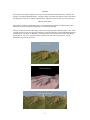
After decompression of the three geotiff files, combine them in Photoshop (or equivalent) into a single
RGB color image. Usually some color adjustment is needed after combining. Typically it is necessary to
add yellow to the color balance and to increase the image brightness and contrast. Every image will be a
bit different, so some trial and error will be required here to obtain the most realistic looking terrain. Then
save the combined image as a Windows bitmap file. This will be a very large image of perhaps 200
megabytes in size.
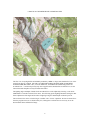
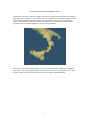
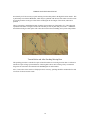
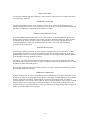
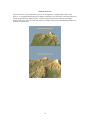
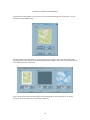
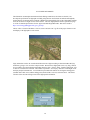
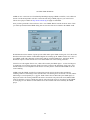
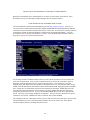
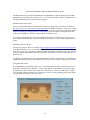
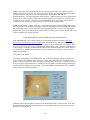
Now load the appropriate digital elevation models into 3DEM to create the 3D terrain surface. Then apply
the merged RGB bitmap as a terrain overlay. Manual georeferencing will be required since the RGB
image contains no geographic coordinate information. You can use the latitude and longitude coordinates
of the lower left and upper right corners of the image as given in the metadata file for manual
georeferencing. 3DEM will trim the large bitmap file and save a small geotiff overlay file that can be used
subsequently without going through the georeferencing procedure again and again.
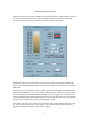
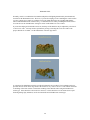
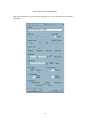
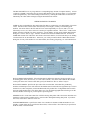
It is also advisable to set the sun azimuth angle in 3DEM to match that of the original Landsat 7 image.
You can read the original sun azimuth angle from the metadata file. Choose “Color Scale - Shaded Relief”
from the Overhead View window and set the sun azimuth angle to the appropriate value.
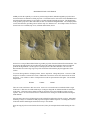
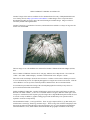
Use of Landsat 7 images as overlays in 3DEM is not for the faint of heart. The overlay images are
extremely large, and the memory utilization and processing time required are a severe test of 3DEM and of
your computer. However, the beautiful results can be worth the time and trouble.
61