1
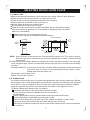
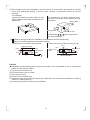
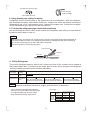
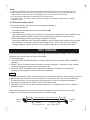
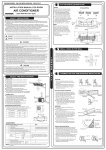
Pipe/wire-hole position on back side
Wiring
Hole 35
Pipe/wire-hole position on the bottom
Refrigerant/drain
Pipe hole
Refrigerant/drain
Pipe hole
2 Outdoor Unit
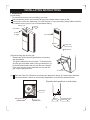
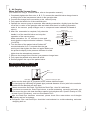
Ship the air conditioner to the installation place originally packed;
Be careful while hanging the unit because the center of gravity of the unit is not centralized;
Do not make the angle of inclination more than 45 degrees while shipping;(Avoid horizontal
storage)
Be sure the electric insulation work is well done if installed on metal ceiling / wall.
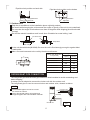
Fit with screws
Deep Base
Wide enough
Fix the unit feet with bolts (M10/M8). Be sure the unit is fixed strongly enough to against blast
or earthquake.
Make a concrete basement to the unit by the above references.
Outdoor unit dimension Mounting dimensions
mm(WxHxD)
A(mm)
B(mm)
A
Air inlet
B
Air inlet
Air outlet
810x558x310
549
325
845x700x320
560
335
900x860x315
590
333
990x965x345
624
366
900x1170x350
590
378
938x1369x392
634
404
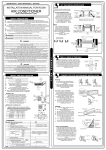
REFRIGERANT PIPE CONNECTION
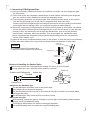
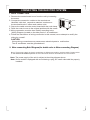
The refrigerant pipe and the drain pipe should be heat-insulated to avoid condensing and
water-dropping.
A reamer joint is adopted to connect the indoor unit with the outdoor unit.
The refrigerant pipe is used to connect indoor and outdoor units, showed as below.
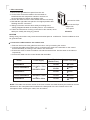
NOTE
The bendable pipe must not be curved
for more than 3 times.
Cover all exposed reamer joint pipes and
refrigerant pipes with heat-insulation material.
Polythene pipe
Heat-insulation cover
Bendable
Reamer Joint
6
Outdoor
Unit