1
SECTION 2 –Setting up a run using the ADMS Mapper
Step 4
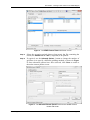
Click on the Save Edits button on the toolbar to save the changes to the
model.
Step 5
Repeat this process to move other buildings.
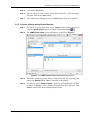
2.6.6 Deleting a building
Step 1
Select the Buildings layer in the layer panel.
Step 2
Click on the Edit Feature button on the toolbar to select it.
Step 3
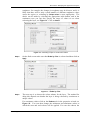
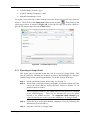
Select the building you wish to delete by clicking on it in the map view
window. The vertices of the selected building will appear as red or
green dots and the vertices of the other buildings will appear as yellow
dots.
Step 4
Click on the Delete Feature button on the toolbar.
Step 5
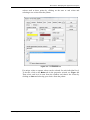
This will bring up a dialogue box asking if you are sure you wish to
delete the feature. Click Yes to delete the building.
Step 6
Click on the Save Edits button on the toolbar to save the changes to the
model.
Step 7
Repeat this process to delete further buildings.
2.7 Specified output points
In this section we look at how to add, move or delete specified output points using the
ADMS Mapper. To follow these instructions, make sure you already have open in the
model interface the *.apl or *.upl file to which sources are to be added, edited or
deleted. Also make sure that the ADMS Mapper is open. Also ensure that the output
type is set to either Specified Points or Both in the Grids screen of the model interface.
2.7.1 Adding an output point
Step 1
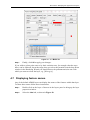
Select the Specified Points layer from the layer panel.
Step 2
Click on the Add Feature button on the toolbar to select it.
Step 3
Click on the location in the map view window where you wish to place
the specified output point.
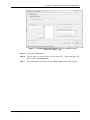
Step 4
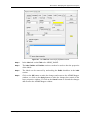
A new specified output point has been created and is displayed in the
Grids screen of the model interface. The X and Y (or R and Theta) coordinates have been automatically entered but the rest of the parameters
need to be filled in. See the model user guide for more details.
Step 5
Repeat this process to add further specified output points.
ADMS Mapper User Guide
Page 19