1
5.2 DriverWizard Walkthrough
60
according to the specific functionality of the device in question. Preferably, use the
complete source code libraries and sample applications (supplied in the package)
tailored to the various USB chipsets.
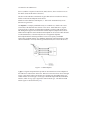
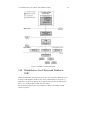
DriverWizard is an excellent tool for two major phases in your HW/Driver
development:
Hardware diagnostics: After the hardware has been built, attach your device to a
USB port on your machine, and use DriverWizard to verify that the hardware
is performing as expected.
Code generation: Once you are ready to build your code, let DriverWizard generate
your driver code for you.
The code generated by DriverWizard is composed of the following elements:
Library functions for accessing each element of your device’s resources (memory
ranges, I/O ranges, registers and interrupts).
A 32-bit diagnostics program in console mode with which you can diagnose your
device. This application utilizes the special library functions described above.
Use this diagnostics program as your skeletal device driver.
A project workspace/solution that you can use to automatically load all of the
project information and files into your development environment.
For Linux, DriverWizard generates the required makefile.
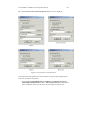
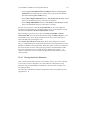
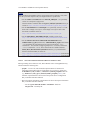
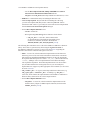
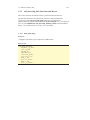
5.2 DriverWizard Walkthrough
To use DriverWizard:
1. Attach your hardware to the computer:
Attach your device to a USB port on your computer.
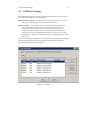
2. Run DriverWizard and select your device:
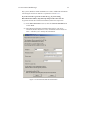
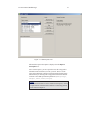
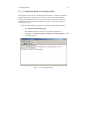
(a) Click Start | Programs | WinDriver | DriverWizard or double click
the DriverWizard icon on your desktop (on Windows), or run the
wdwizard utility from the WinDriver/wizard/ directory.
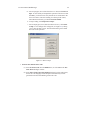
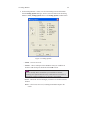
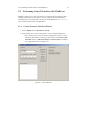
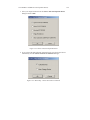
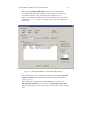
(b) Click Next in the Choose Your Project dialogue box.
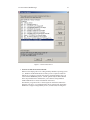
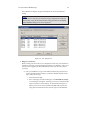
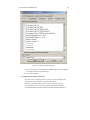
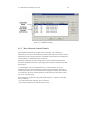
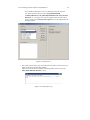
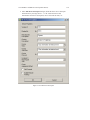
(c) Select your Device from the list of devices detected by DriverWizard.
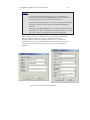
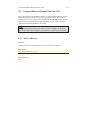
NOTE
On Windows 98, if you do not see your USB device in the list, reconnect
it and make sure the New Hardware Found/Add New Hardware wizard
appears for your device. Do not close the dialogue box until you have
generated an INF for your device using the steps below.