1
Setting Up the Detectors
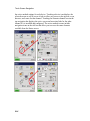
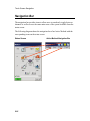
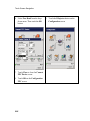
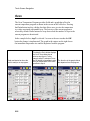
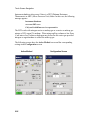
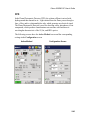
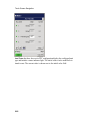
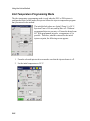
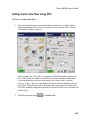
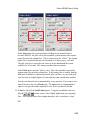
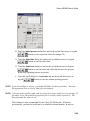
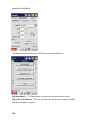
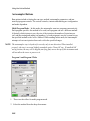
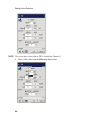
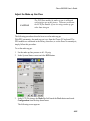
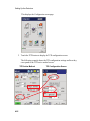
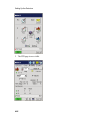
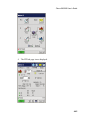
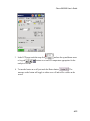
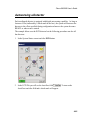
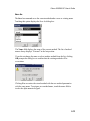
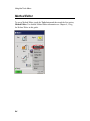
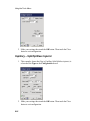
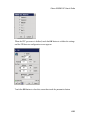
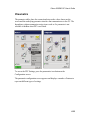
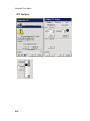
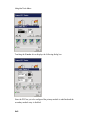
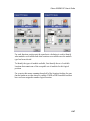
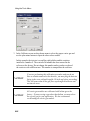
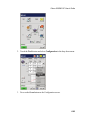
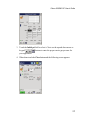
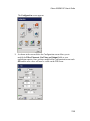
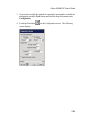
4. On this page touch the FPD button
page.
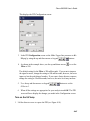
to display the FPD Configuration
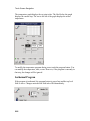
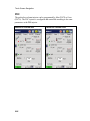
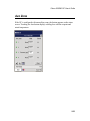
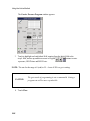
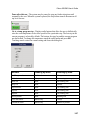
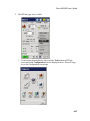
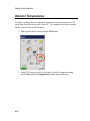
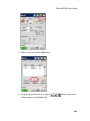
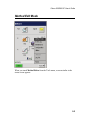
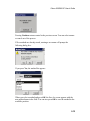
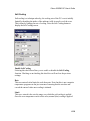
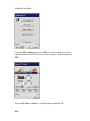
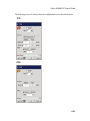
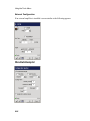
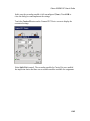
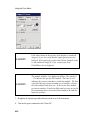
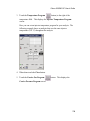
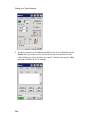
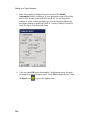
5. In the PMT Voltage field set the percentage (see note below) by using the up
and down arrow or keypad
buttons. This will turn on the
photomultiplier tube.
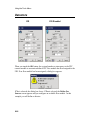
NOTE: The voltage to the photomultiplier tube has been set in the factory to approximately
70%. You can change this setting from the Clarus GC touch screen. You may want
to change this setting as the photomultiplier tube ages and the signal diminishes.
The signal-to-noise ratio may vary with each photomultiplier tube; therefore,
increasing the voltage may not increase the signal-to-noise ratio.
After installing a replacement photomultiplier tube, the noise should be about 2%
when the Clarus GC integrator output is set to attenuation 8 (x8) and the Linearizer
off. See the Clarus 600/680 GC Customer Hardware and Service Guide
"Maintenance” chapter, for this procedure.
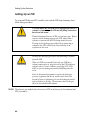
NOTE: The photomultiplier tube can be damaged if it is exposed to light while voltage is
ON. Never remove the detector cap or Photomultiplier tube WITH the voltage on.
4-68