1
Checking Upper and Lower Limits
By setting upper and lower limits you can check data as it is
downloaded to see if all measurements fall within the limit range
and have the results displayed.
NOTE:
Upper and lower limit settings that were set by computer when setting up the
recording start time for the Remote Unit will take precedence over other limit
settings.
◆ Setting the Upper and Lower Limit Range
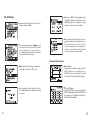
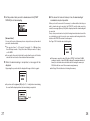
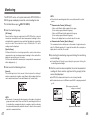
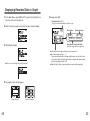
1.In the Main Menu, open [SET FUNCTIONS]-[ Set ↑↓ Limits] .
2.Move the arrow to the item you wish to make settings for and open.
5. When settings are completed, click on [Back] to activate and
finish.
※ Settings can also be made via the computer. For details see the [Help]
Menu in the software『T&D Recorder for Windows 』or the User’s Manual
that accompanies it.
◆ Viewing the Results of Saved Data
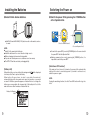
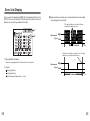
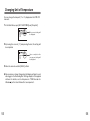
1.In the Main Menu, open [DATA LIST] and select the data you wish
to check.
2.By clicking on [Judge], the results will be displayed.
Result
Setting Range
HIGH
LOW
3.By clicking [Judgment OFF], it will change to [ON] .
Upper Limit
Lower Limit
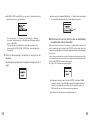
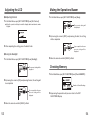
4.By moving the arrow to the upper or lower limit and clicking, it will
allow you to make changes. By turning the operation dial, you can
make changes to the value; click to activate the new setting.
●
41
By holding down the ・ buttons on the main
unit you can make rapid changes to the values.
Pressing the button will make the value lower.
Pressing the button will make the value higher.
Highest Temp
Lowest Temp
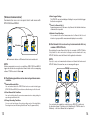
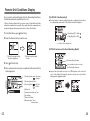
● If
no upper and lower limits have been set before downloading, the result
will appear as [--] and only the high and low values will appear.
HIGH
LOW
● If the data is pulse data, the total number of pulse readings will appear.
HIGH
LOW
42