1
NavInc
P.O. Box 4063
5604 EB Eindhoven
10: ACTIVATIO.
Standard Control Functions
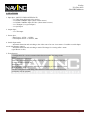
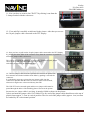
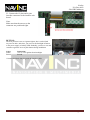
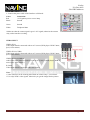
The video interface is controlled by the available push button. It main function is to select for displaying
the auxiliary video sources and CID one by one as follow:
1: At start-up the interface will display the main CID information
2: Select Video Input #1 – press the button short time when on the TFT is
displaying the main CID information
3: Select Video Input #2 (CVBS) – press the button short time when on the
TFT is displaying the video input #1.
4: Select CID - press the button short time when on the TFT is displaying the
video source #2.
11: .OTE
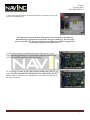
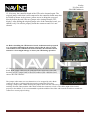
In order to execute the first test run, you need to connect the car battery again. When switching on the ignition, the
usual Opel-logo etc. should appear in the CID. Pay special attention to the colors of the CID-display, they must not
be strange or missing. Press and release shortly the push button in order to switch the CID to display the 1st video
input. Press again and select the 2nd video input, and again to come back to the CID display.
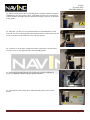
If this test looks OK, the CID-Interface with its jumper cables seems to be installed correctly and the battery must
be disconnected again to continue the installation. If you should not see any picture in the CID even after switching
on the ignition or the colors are not displayed correctly or the selected video input are not displayed, the
CID has to be removed again for rechecking. Please refer to chapter FAQ.
NavInc
Pagina 15