1
General information
All our products are tested according to the latest
European requirements and also to the Norwegian
standard NS 3058 and NS 3059, which include
particle tests. However, several European countries
have local regulations for installation of fireplaces,
which change regularly. It is the responsibility of the
client that these regulations are complied with in
the country/region where the fireplace is installed.
Nordpeis AS is not responsible for incorrect
installation.
The result is that small cracks may appear in the
concrete/masonry.
Important to check
(please note that this list is not exhaustive):
-distance from firebox to combustible/flammable
materials
-insulation materials/requirements between fireplace
surround and back wall
-size of floor plates in front of fireplace if required
flue connection between firebox and chimney
-insulation requirements if flue passes through a
flammable wall
Painting
When the fireplace has been filled/sanded and the
glued joints are dry, the fireplace is ready to be painted.
Use only breathable paint (acrylic) intended for
masonry.
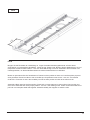
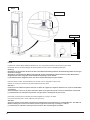
Adjustment
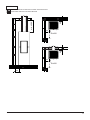
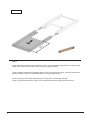
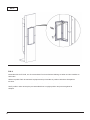
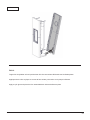
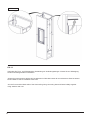
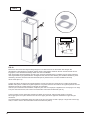
We recommend to stack the surround without glue in
order to adjust the insert prior to perforating the chimney
for the flue connection. Use a spirit level to ensure that
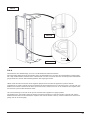
the surround is mounted straight. The insert will expand
with heat and for this reason the surround must not rest
on the insert. (Above the insert there must be a gap
of 3 to 5 mm. Laterally there is no need for gaps, but
between the lower part of the insert and the surround
there must be a gap of at least 2 mm.)
Floor plate
A fireproof floor plate must be put in front of the fireplace
if the floor is of a combustible material.
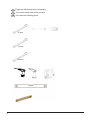
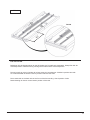
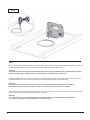
Acrylic glue
This is used for gluing the elements towards wall, gluing
the elements together and for filling joints.
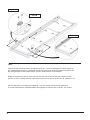
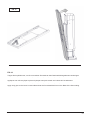
Minor damage
The fireplace can sustain minor damage during
transport and handling.
This can be repaired with acrylic/light filler. For perfect
results, you can fill and sand with a suitable filler. Minor
damage and uneven surfaces can be filled. If the
damage is deep or in the event of significant damage,
you are recommended to fill repeatedly with tile
adhesive or cement putty to avoid sinking. Smooth off
with e.g. a damp sponge or a float.
Use the fireplace for a few months. If cracks appear,
scrape them out with a screwdriver or similar (to provide
more space for acrylic joint filler). Vacuum the surfaces
to remove any dust.
Inject acrylic joint filler and even it out with a spatula or
a finger wetted with soapy water.
The joint can be painted after a couple of days
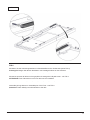
Marble/granite
Clean the plates with mild soapy water and remove any
residue of spilled glue.
Never use acid/abrasive materials, as this will damage
the surface and polishing.
It is important to use detergent/sealant that is approved
for marble for cleaning and sealing.
Scratches in dark marble can be coloured with a pencil.
A professional stone centre can help you with different
products for surface treatment of the stone
Attention!
All stoves and inserts may under certain
circumstances leak some smoke from the door
when opened. Please use the abrasive sponge to
remove any discoloration.
For your own safety, comply with the assembly
instructions. All safety distances are minimum distances.
Installation of the insert must comply with the rules and
regulations of the country where installed. Nordpeis AS
is not responsible for wrongly assembled inserts.
We accept no liability for typographical errors and
changes.
NB! See separate instructions for the insert
Fine fissures
The building material around the fireplace can move.
In new houses in particular, it is common for building
materials to settle substantially in the early years. In
addition, all concrete elements shrink to a decreasing
extent for up to 15 months.
8
GB