1
3
raytest
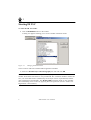
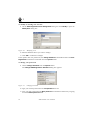
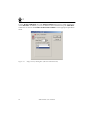
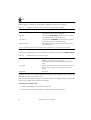
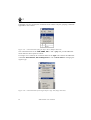
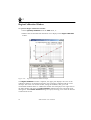
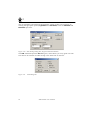
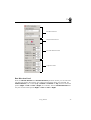
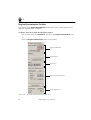
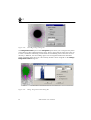
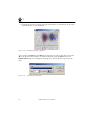
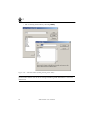
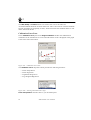
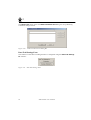
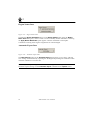
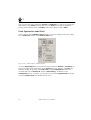
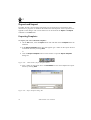
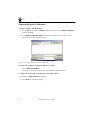
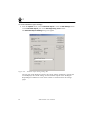
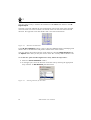
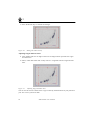
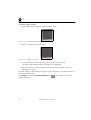
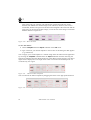
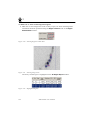
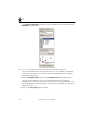
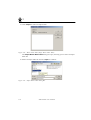
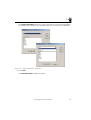
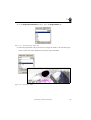
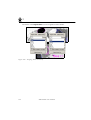
3 Then select the direction of the second run.
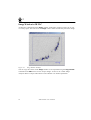
Figure 3-4
Selecting Direction for Second Run
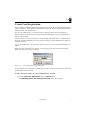
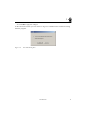
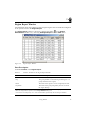
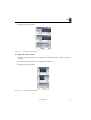
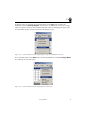
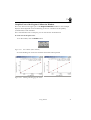
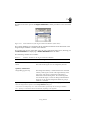
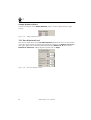
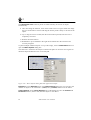
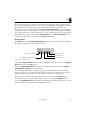
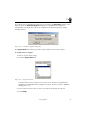
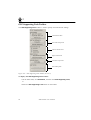
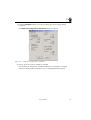
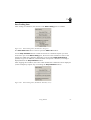
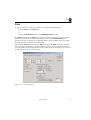
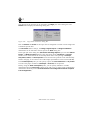
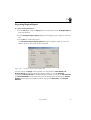
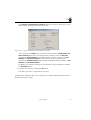
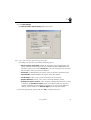
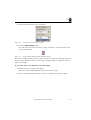
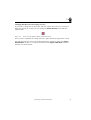
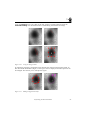
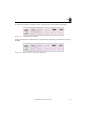
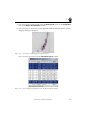
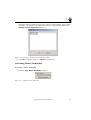
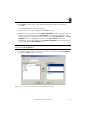
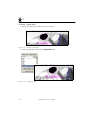
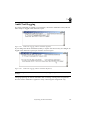
4 Click the Define Sample button.
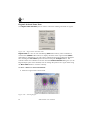
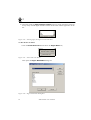
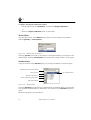
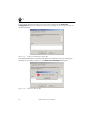
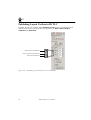
This will create an overlay for the TLC plate, containing a second overlay for the
origin and front lines.
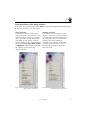
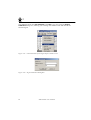
Figure 3-5
Define Sample Button (Sample Definition Panel)
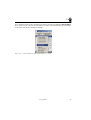
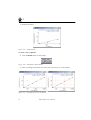
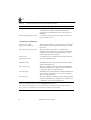
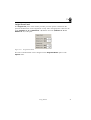
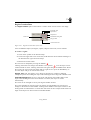
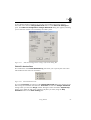
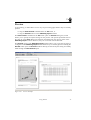
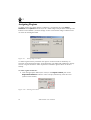
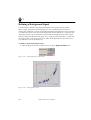
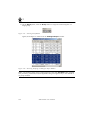
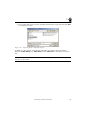
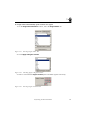
The outer rectangle represents the TLC plate, the inner rectangle represents the origin and
front lines. By default, the position of the outer rectangle's edges is congruent with the
edges of the image.
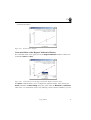
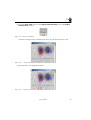
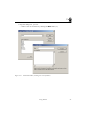
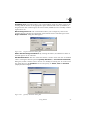
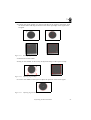
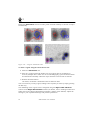
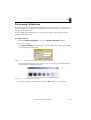
If your TLC plate is not identical to the whole image:
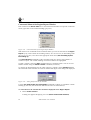
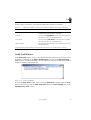
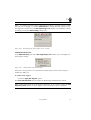
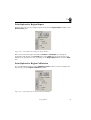
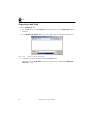
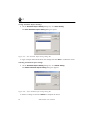
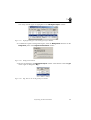
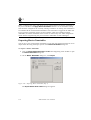
1 Double-click near an edge of the image.
This will activate the Editing mode for the TLC plate overlay.
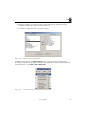
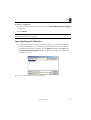
2 Move, rotate and stretch this overlay until it is congruent with the TLC plate.
Performing 2D TLC Evaluations
89