1
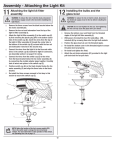
3. Secure the light kit assembly to the switch
cup using the three screws that were removed in step 1.
7. Re-install the rubber washer, hex nut and
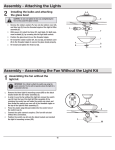
bottom cover to the threaded nipple to secure the glass shade properly.
4. Remove the rubber washer, hex nut, bottom cover and the finial from the threaded
nipple of the light kit assembly (Figure 17).
DO NOT OVER TIGHTEN THE HEX NUT,
OVERTIGHTENING THE HEX NUT MAY
CAUSE THE GLASS TO BREAK.
3. Press the plastic plug (provided) into the
center hole of the switch cup cover.
4. Secure the switch cup cover to the switch
cup using the three screws that were removed in step 2.
8. Re-install finial and finger tighten the finial.
Fan Without Light Kit
Bulbs
CAUTION - To reduce the risk of electric
shock, disconnect the electrical supply circuit
to the fan before installing the light kit assembly.
Threaded
Nipple
Rubber
Washer
Finial
Hex Nut
Bottom Cover
1. In order to use the fan without the light kit,
remove the switch cup cover from the top of
the light kit assembly by removing the center hex nut, and then thread the switch cup
cover off the threaded nipple on the top of
the light kit assembly.
2. Remove the three screws from the switch
cup cover (Figure 18).
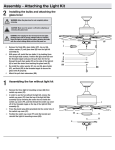
Figure 17
5. With power off, install the two bulbs (Max.
14W, included) by screwing into the light
bulb sockets.
6. Position the glass shade over the threaded nipple and pass the pull chain for fan
through pull chain guide on the side of the
light kit assembly.
Holes (3)
Plastic Plug
Serrated Head
Screw (3)
Figure 18
9.