Transcript
ASSEMBLY INSTRUCTION
SKU# 74263-89
Note: Please consult a qualified eletrician if you are not certain of the installation
CAUTION: Before starting the installation, disconnect the power by turning off the circuit breaker or by
removing the fuse at the fuse box.
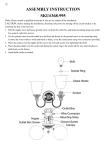
1. Unscrew screw collar loop from nipple.
2. Attach mounting strip to junction box using mounting screws.
3. Screw fixture loop onto fixture body. Place the socket sleeves onto the sockets.
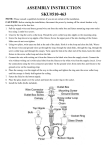
4. Adjust chain to desired length. Spread end link of chain. Use a pair of pliers and a screwdriver as shown
above. Wrap a soft cloth around pliers to protect the finish.
5. Attach one end of chain to fixture loop and the other end to screw collar loop.
6. Weave electrical wires and ground wire chain, through screw collar loop, through canopy and into outlet
box.
7. Strip 3/4” of insulation from wire ends. Twist stripped ends together with pliers black to black white to
white. Snip ends. Attach copper wire to ground wire.
8. Attach wire nuts. Tap nuts and wires together.
9. Attach screw collar loop to nipple, tighten nut.
10. Install light bulbs. Use only bulbs of the specified type and maximum rated wattage of less.(bulbs not
included)
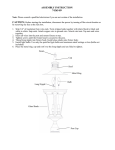
11. Unscrew cap nuts from fixture cage.
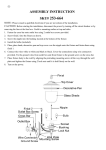
12. Place nipple through hole of the fixture cage. Use finial to tighten.
13. Align holes of the cap to the fixture body. Using the cap nuts, secure the fixture body to the roof.
Ground wire
Outlet Box
Wire Connector
Outlet Box Screw
Mounting Strip
Canopy
Screw Collar Loop
Supply Wire
Chain
Loop
Roof
Socket Sleeve
Glass Shade
Nipple
Cap
Finial